Still Life
Still Life is Reica's product photography engine. Upload a product image and get professional-quality output — ghost mannequin, flat lay, on-model, or contextual still life — in seconds.
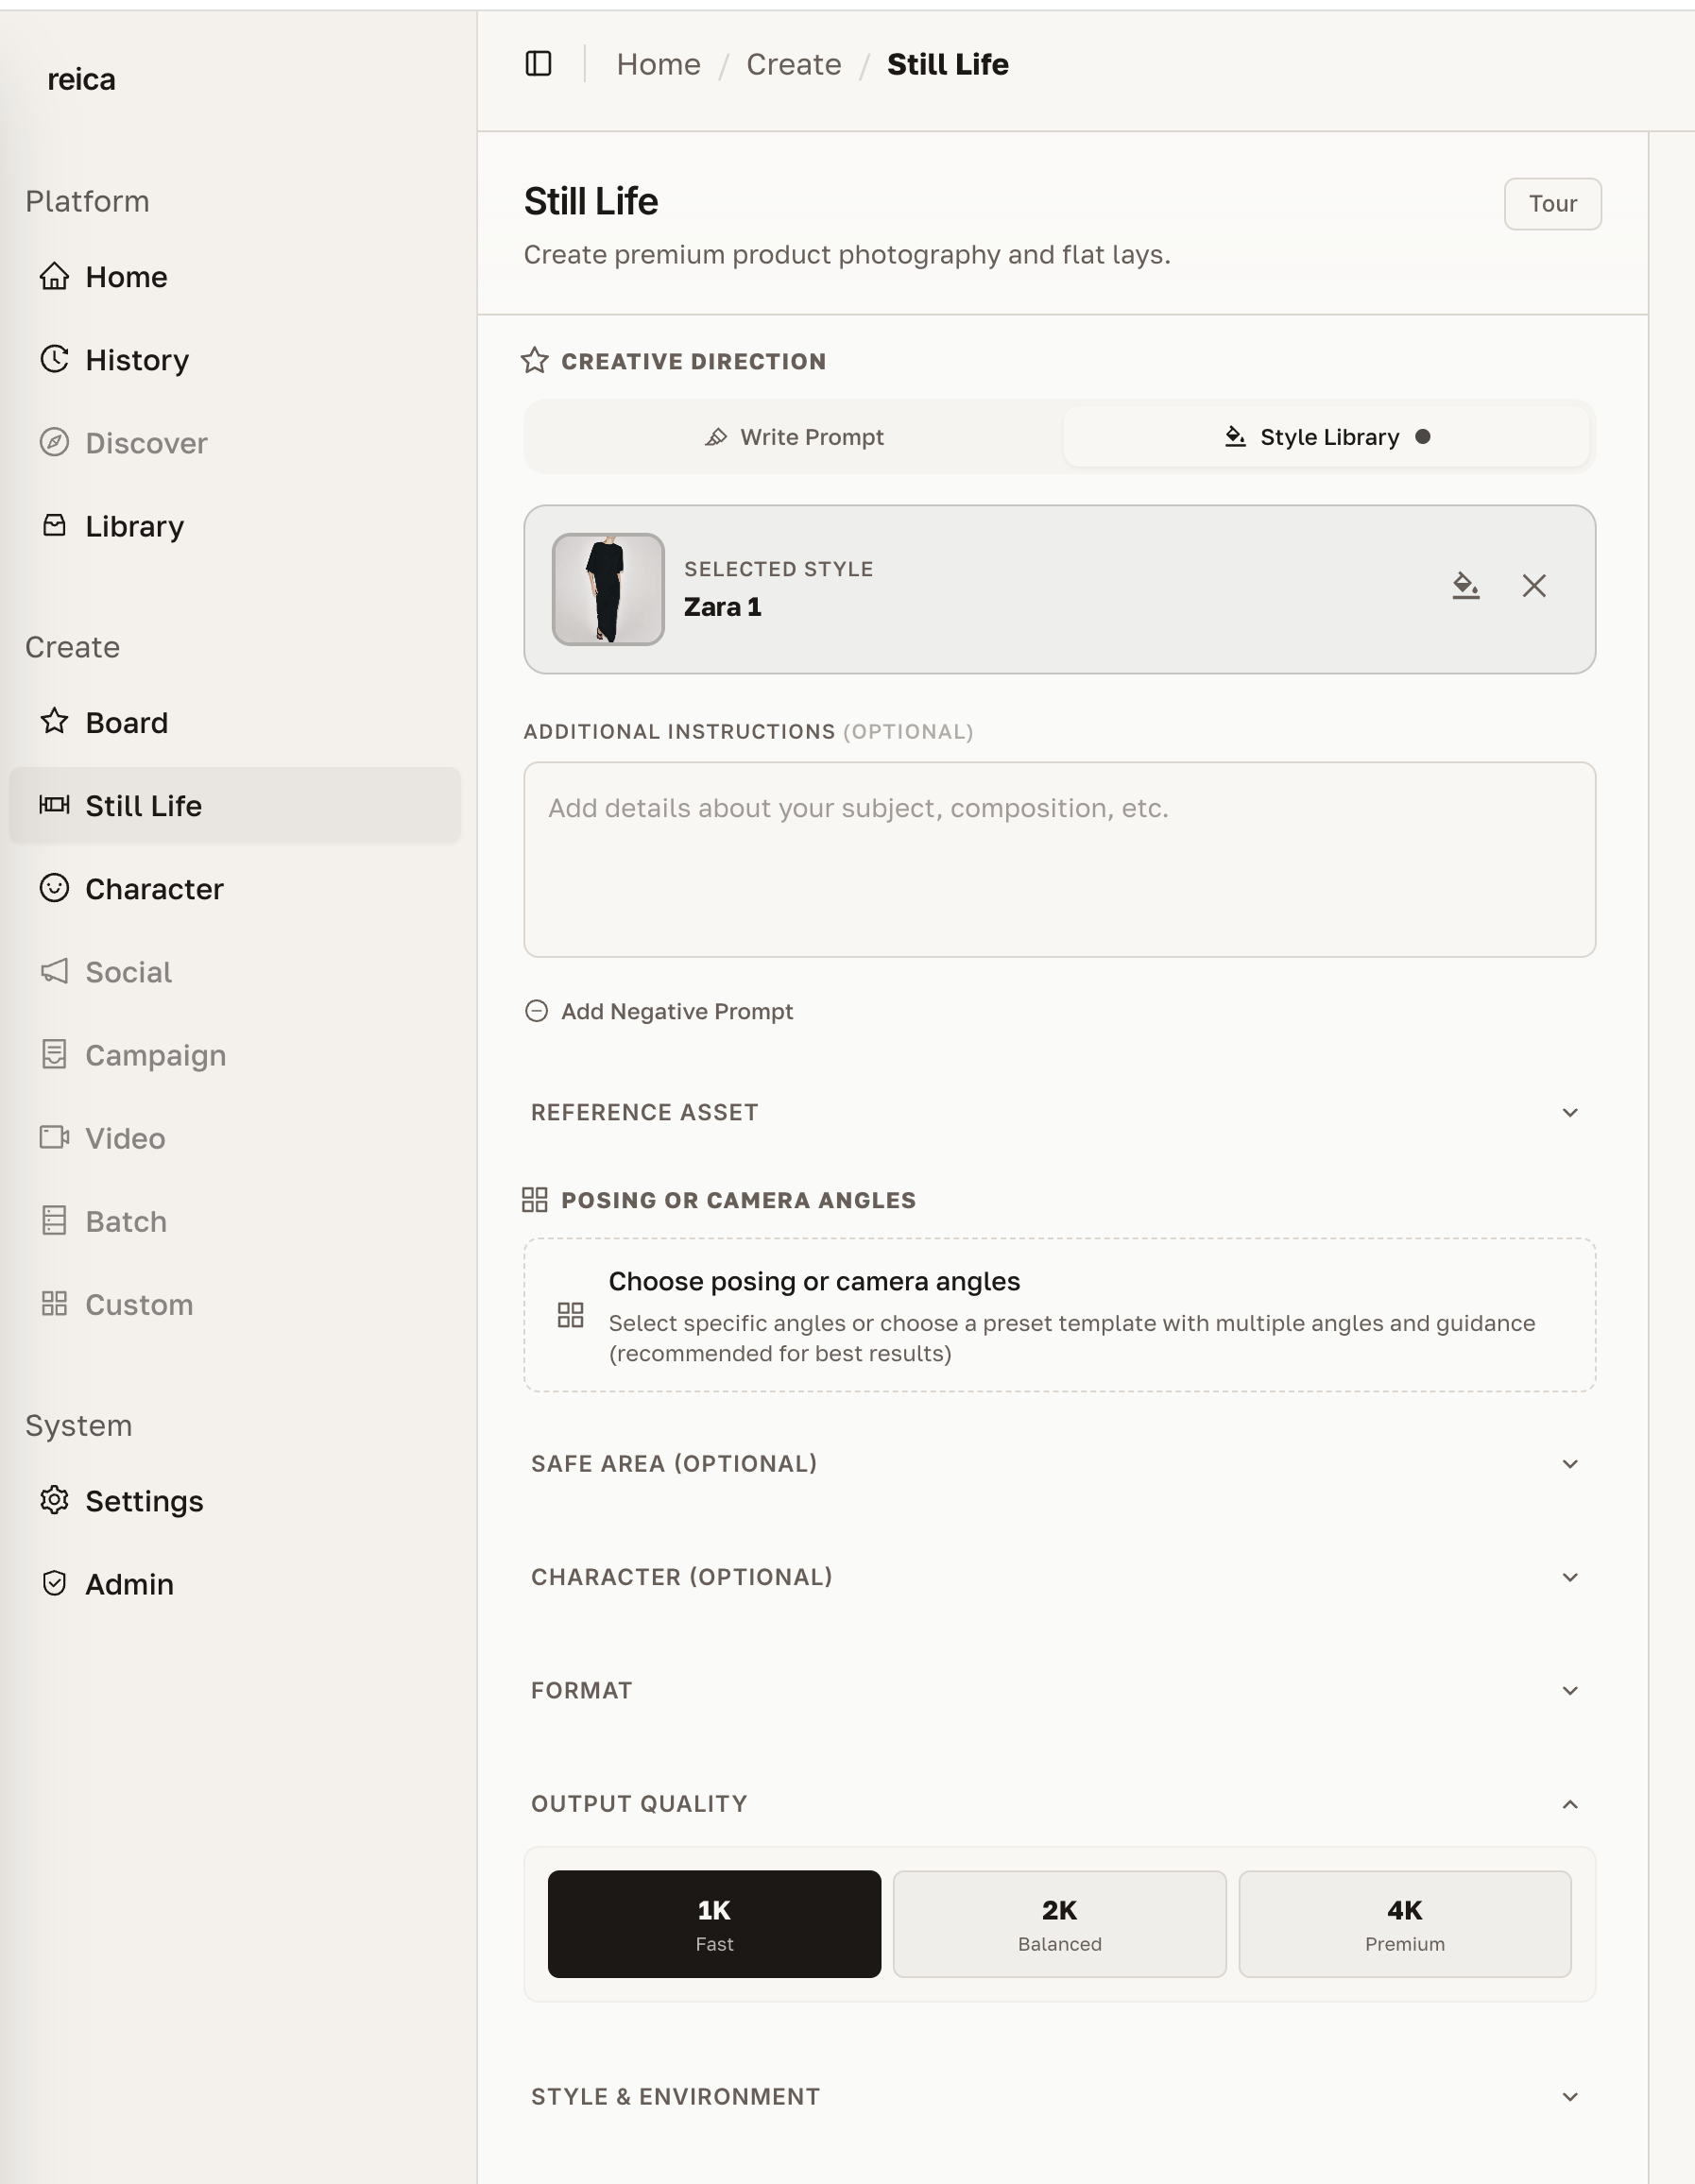
Opening Still Life
From the Home dashboard, click Still Life in the shortcuts. The generation form opens immediately.
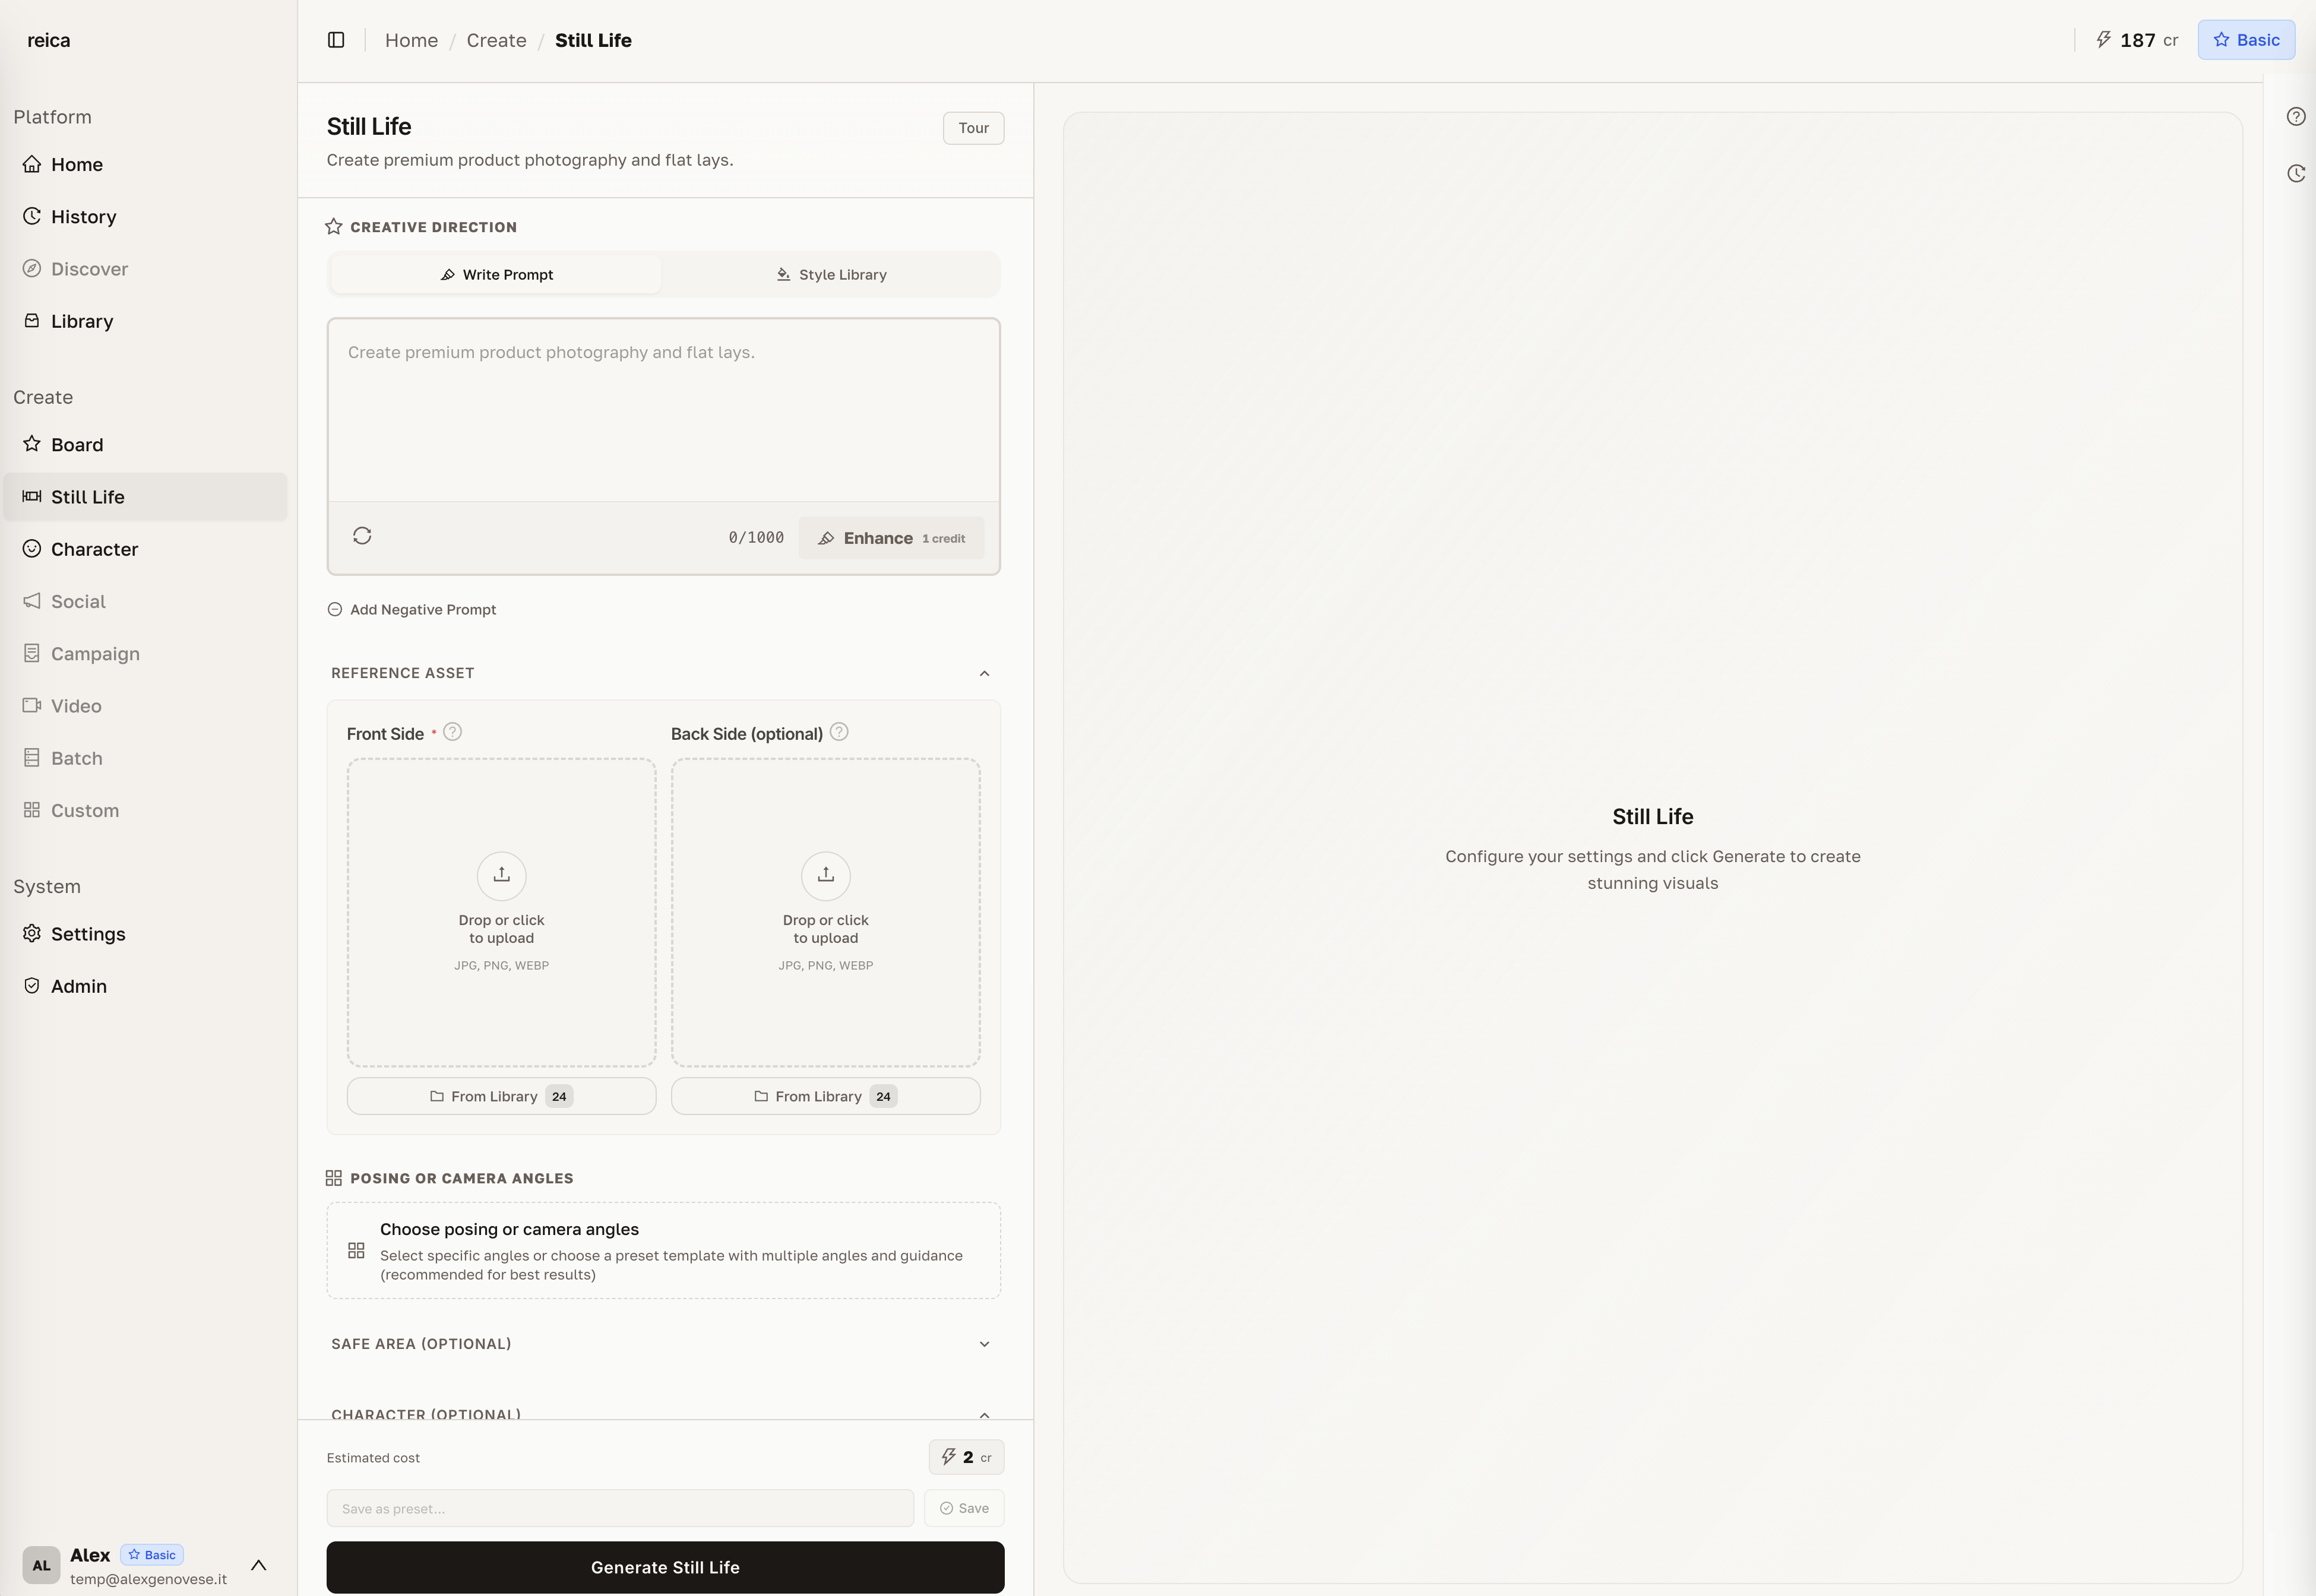
Step 1 — Upload your product
Drag and drop your product image onto the upload area, or click to browse.
For the best results:
- Use a clean, well-lit product image
- Avoid busy backgrounds (the AI removes them automatically but a plain background helps)
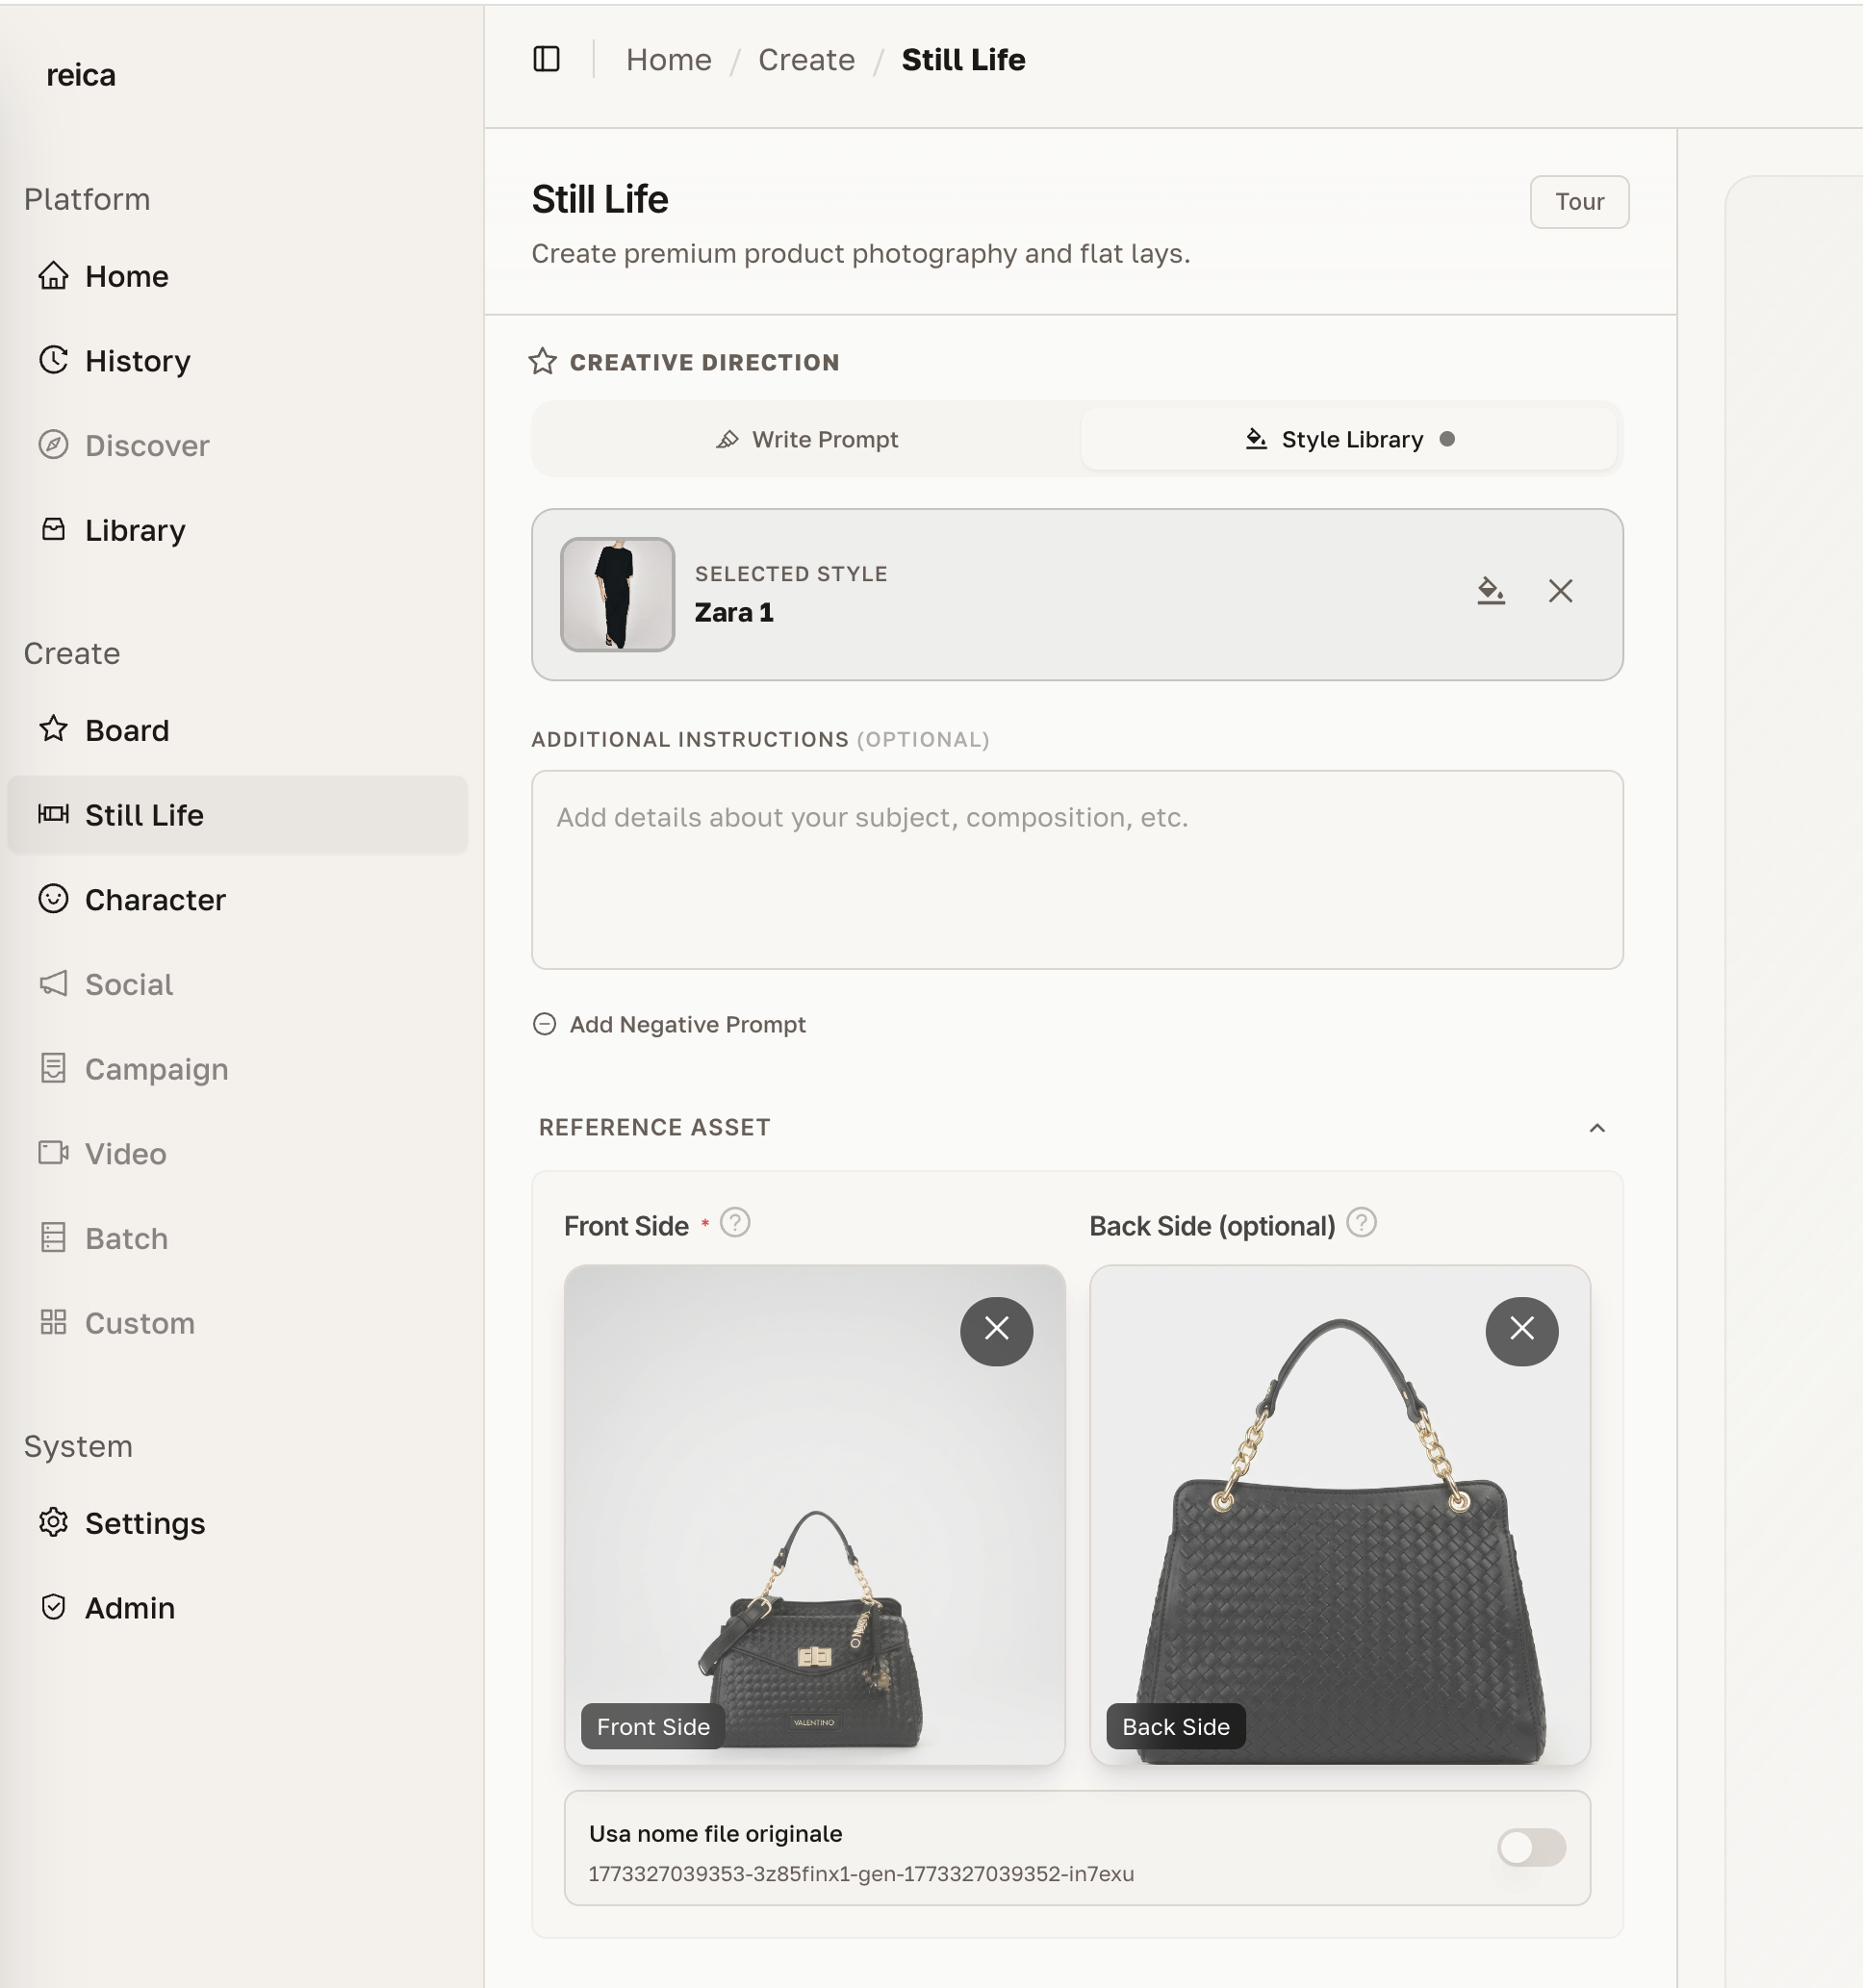
- For apparel and garments: upload front and back in the same session
Why upload front and back?
Uploading both sides of a garment gives the AI significantly more information about the product's shape, seams, collar, and construction — resulting in more accurate and realistic output.
Step 2 — Choose an Output Type
Select what you want the AI to produce:
| Output Type | Best for |
|---|---|
| Ghost mannequin | E-commerce PDPs, technical catalogue |
| Flat lay | Social media, editorial, overhead shots |
| On-model | Lifestyle imagery, lookbooks, campaigns |
| Still life | Accessories, beauty products, contextual scenes |
Step 3 — Choose a Character (on-model outputs)
If you selected an on-model output type, click Choose a Character to assign a character to the shoot.
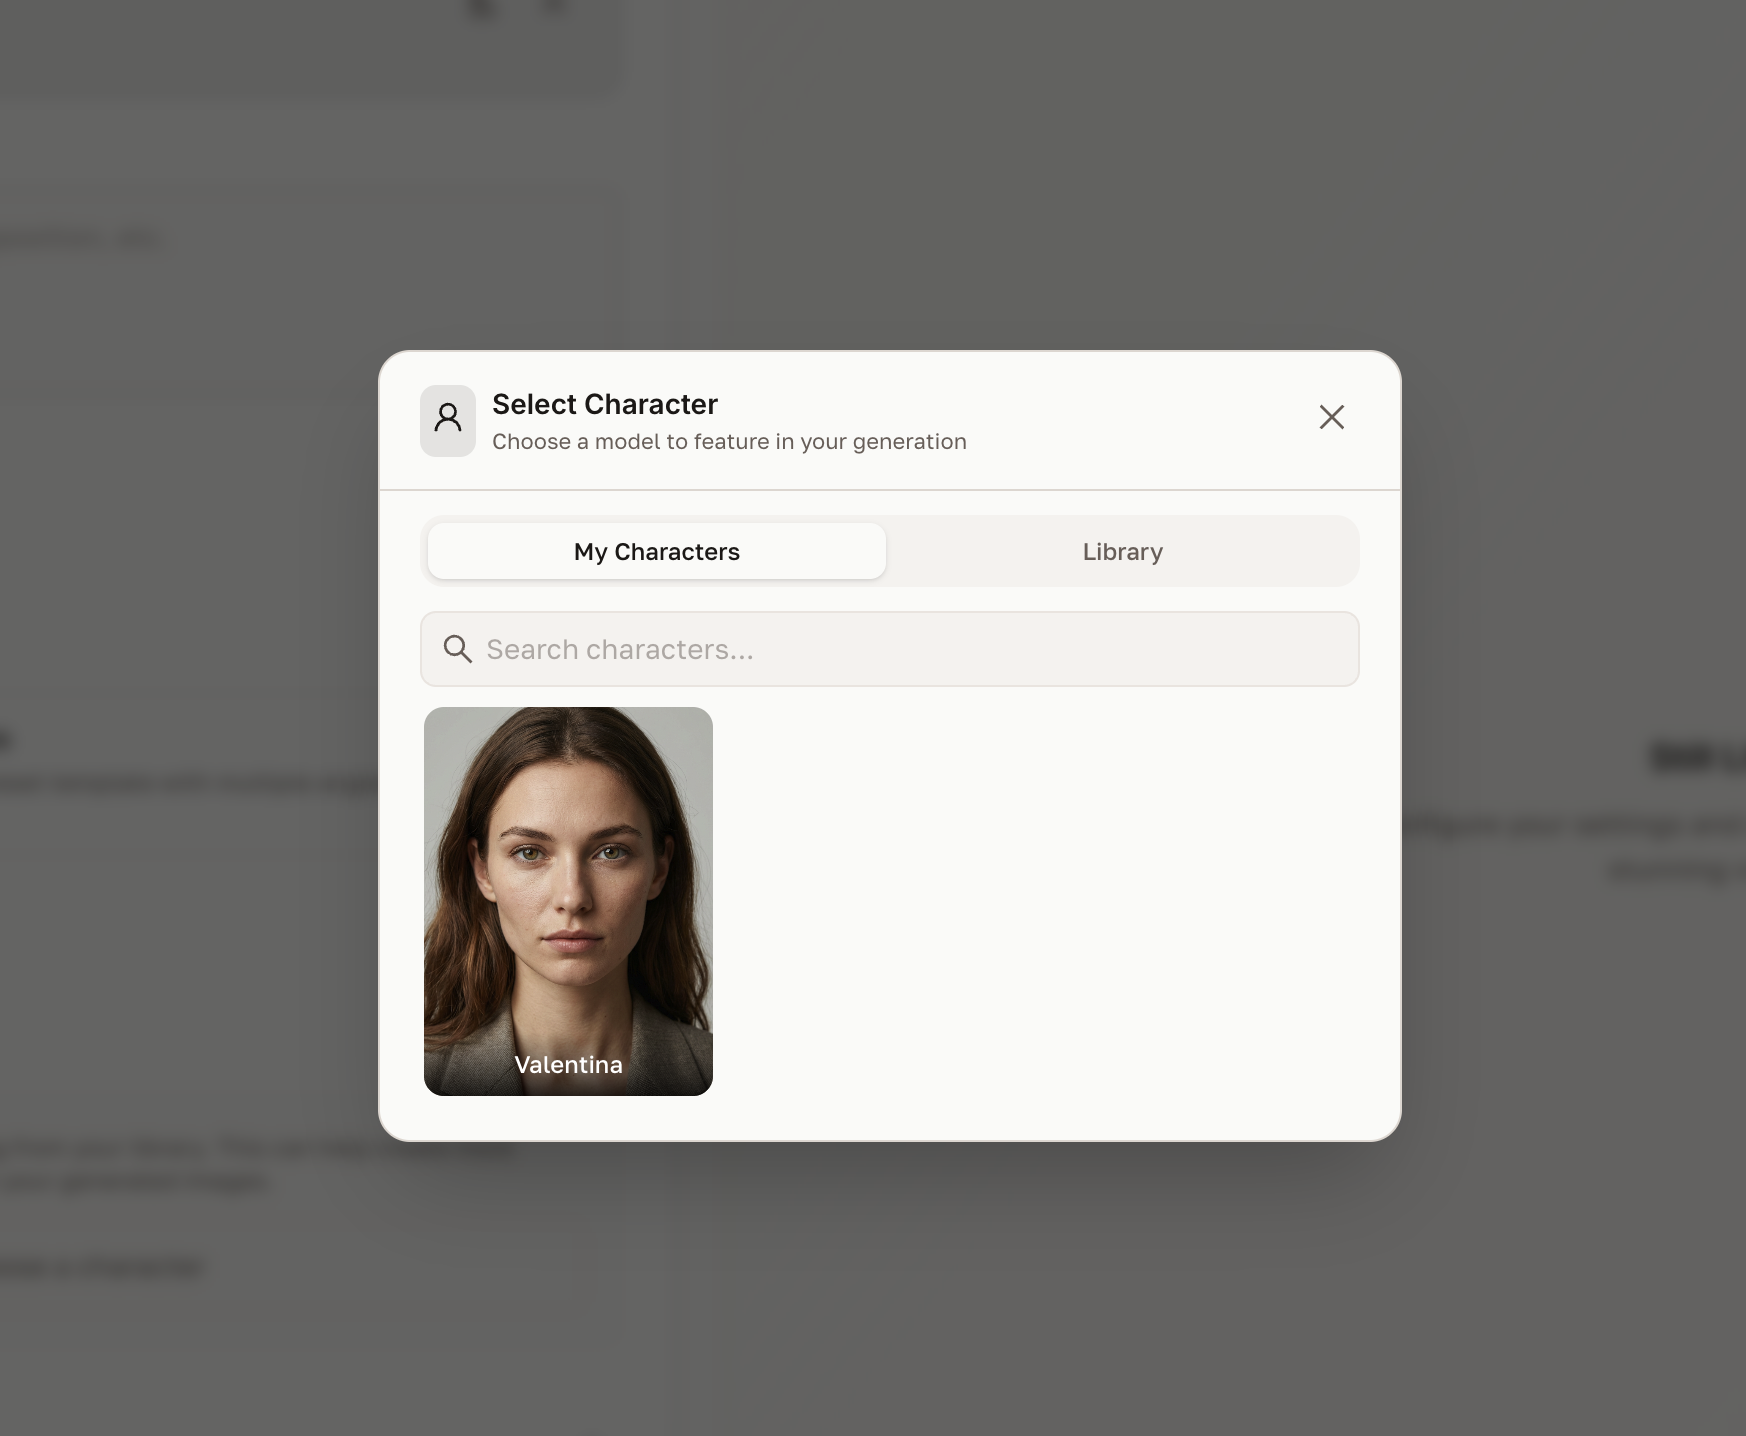
You can:
- Select from your saved characters (created in the Character module)
- Browse Reica's default library — ready-to-use AI models in diverse styles
- Continue without a character for product-only outputs
Step 4 — Set up lighting and background
Configure the atmosphere of the shot:

- Lighting — studio, natural, golden hour, dramatic, soft box
- Background color — choose from presets or enter a custom hex value
- Surface — marble, wood, fabric, concrete, transparent
Step 5 — Apply a photographic style
Click Style to apply a preset photographic style to the entire generation.
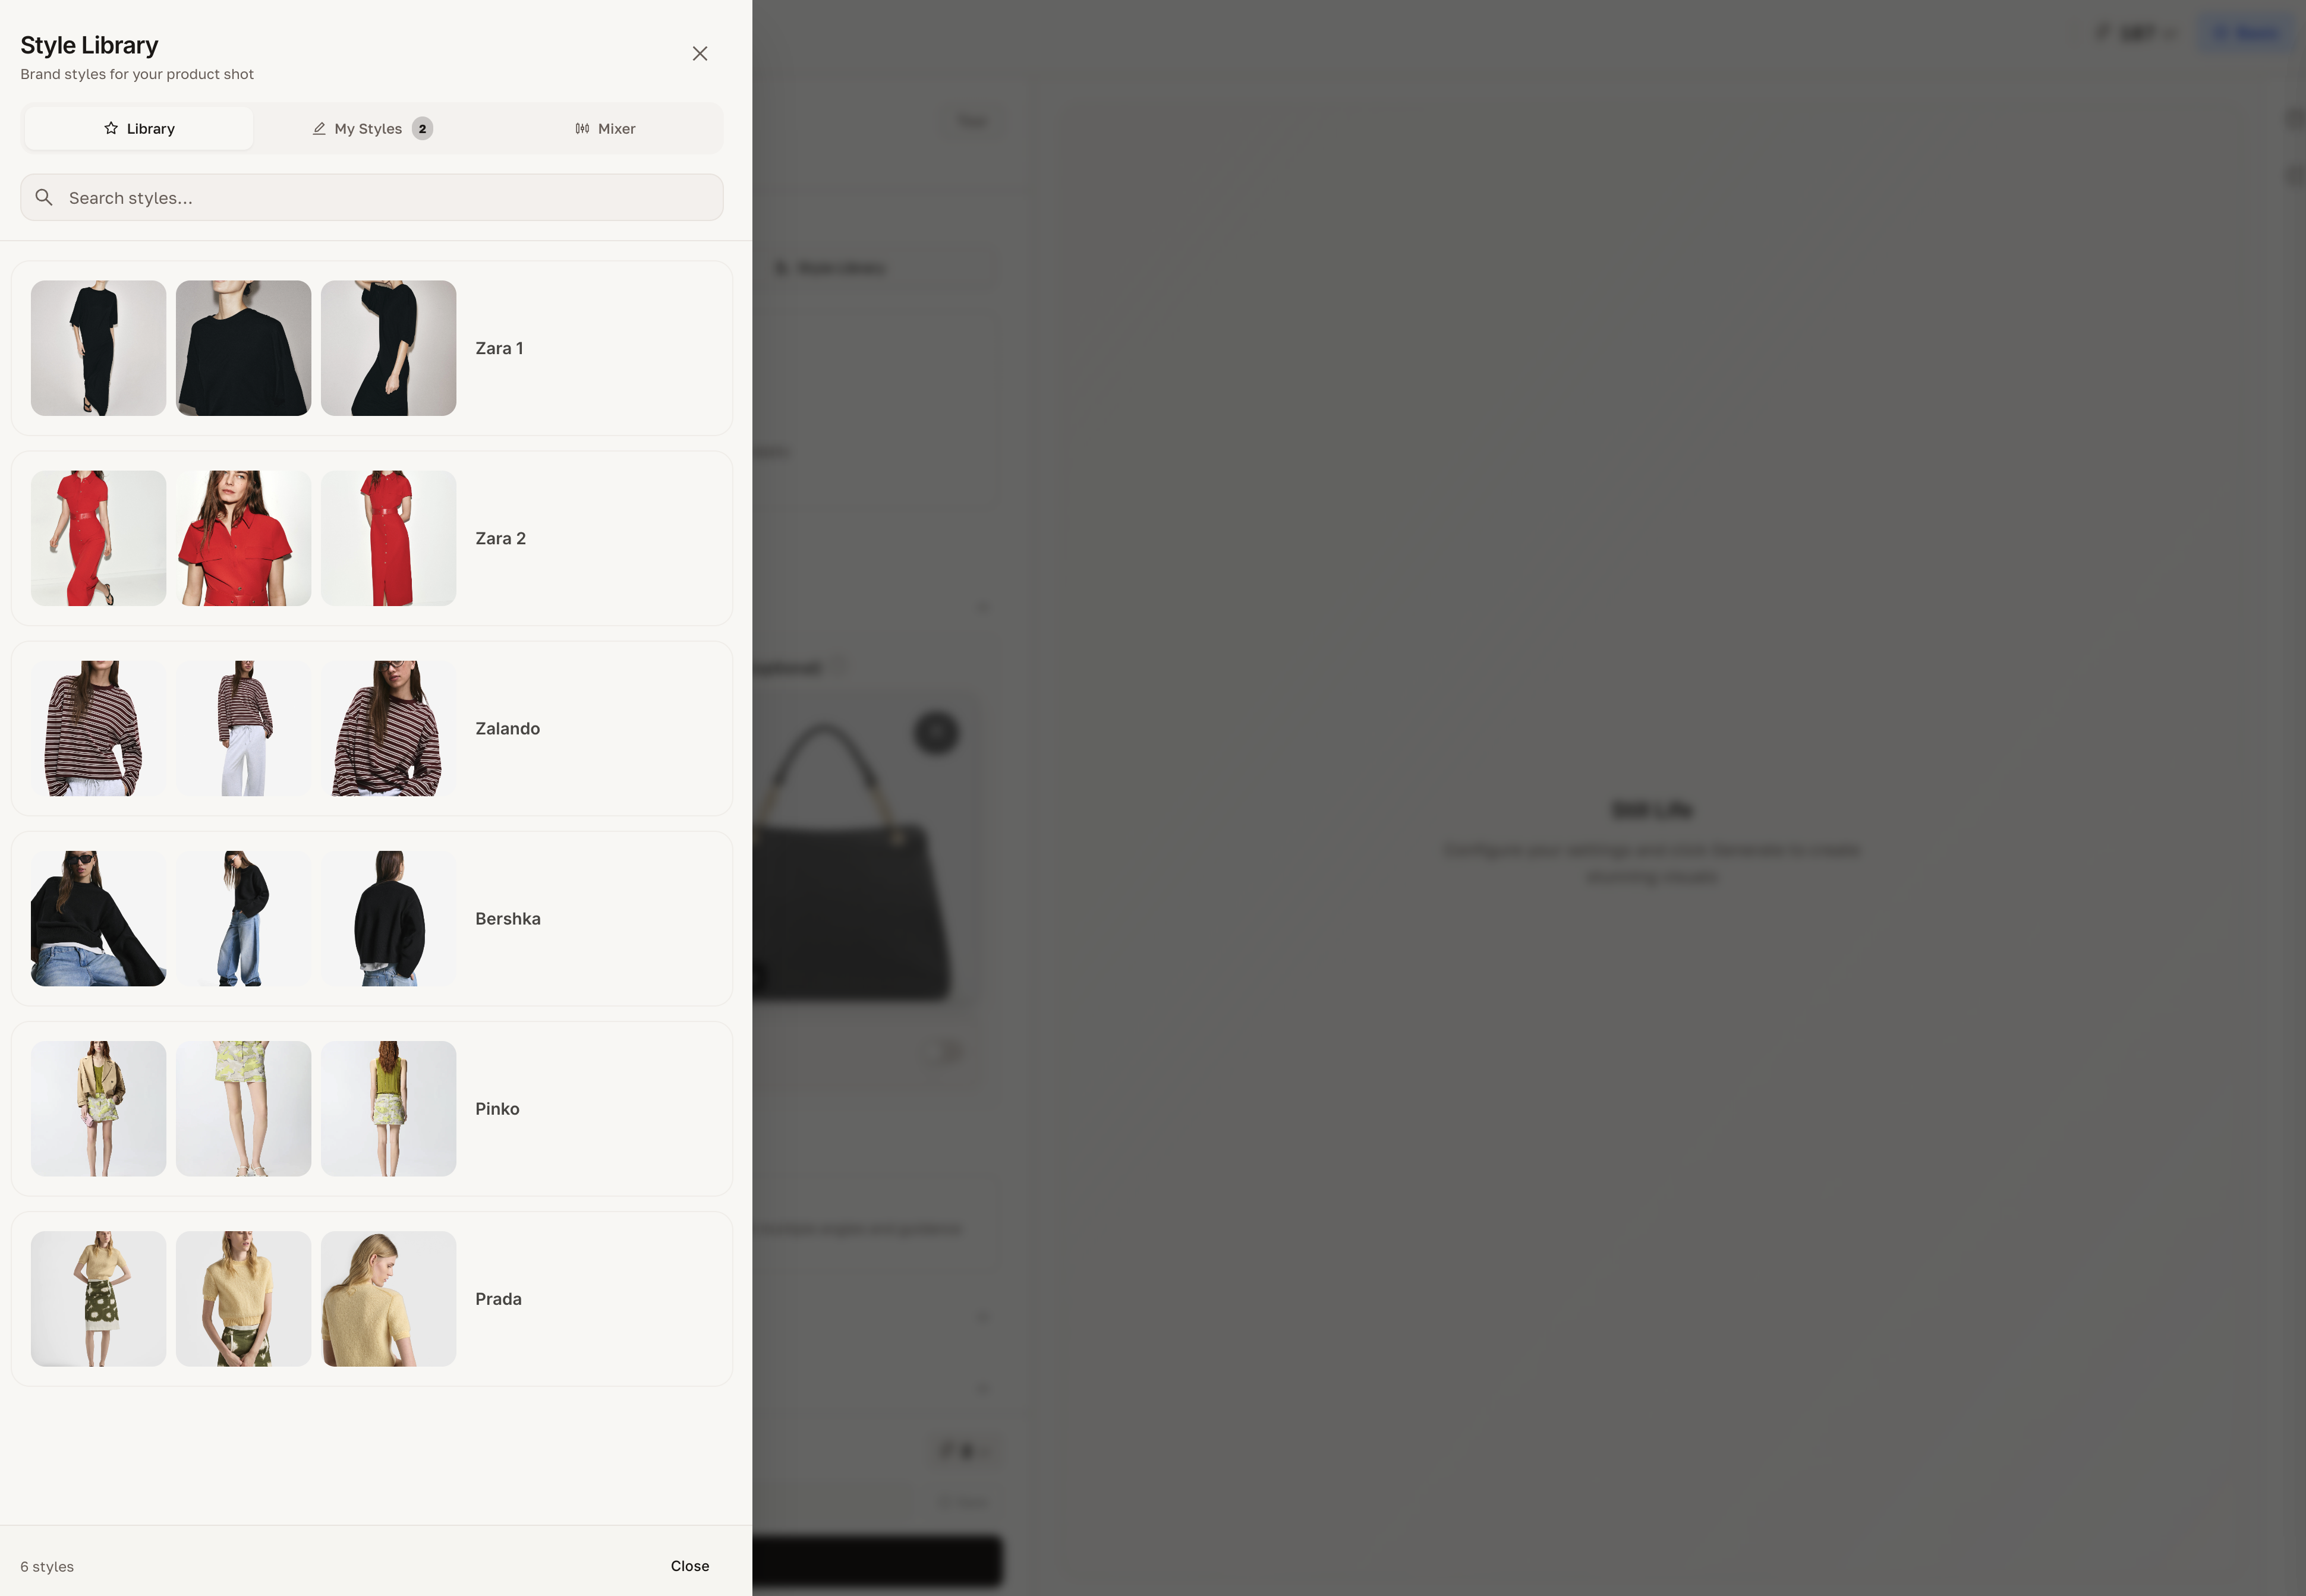
Styles are calibrated specifically for fashion and beauty. Each one adjusts colour grading, contrast, and tone to match a specific editorial aesthetic — from clean commercial to rich editorial.
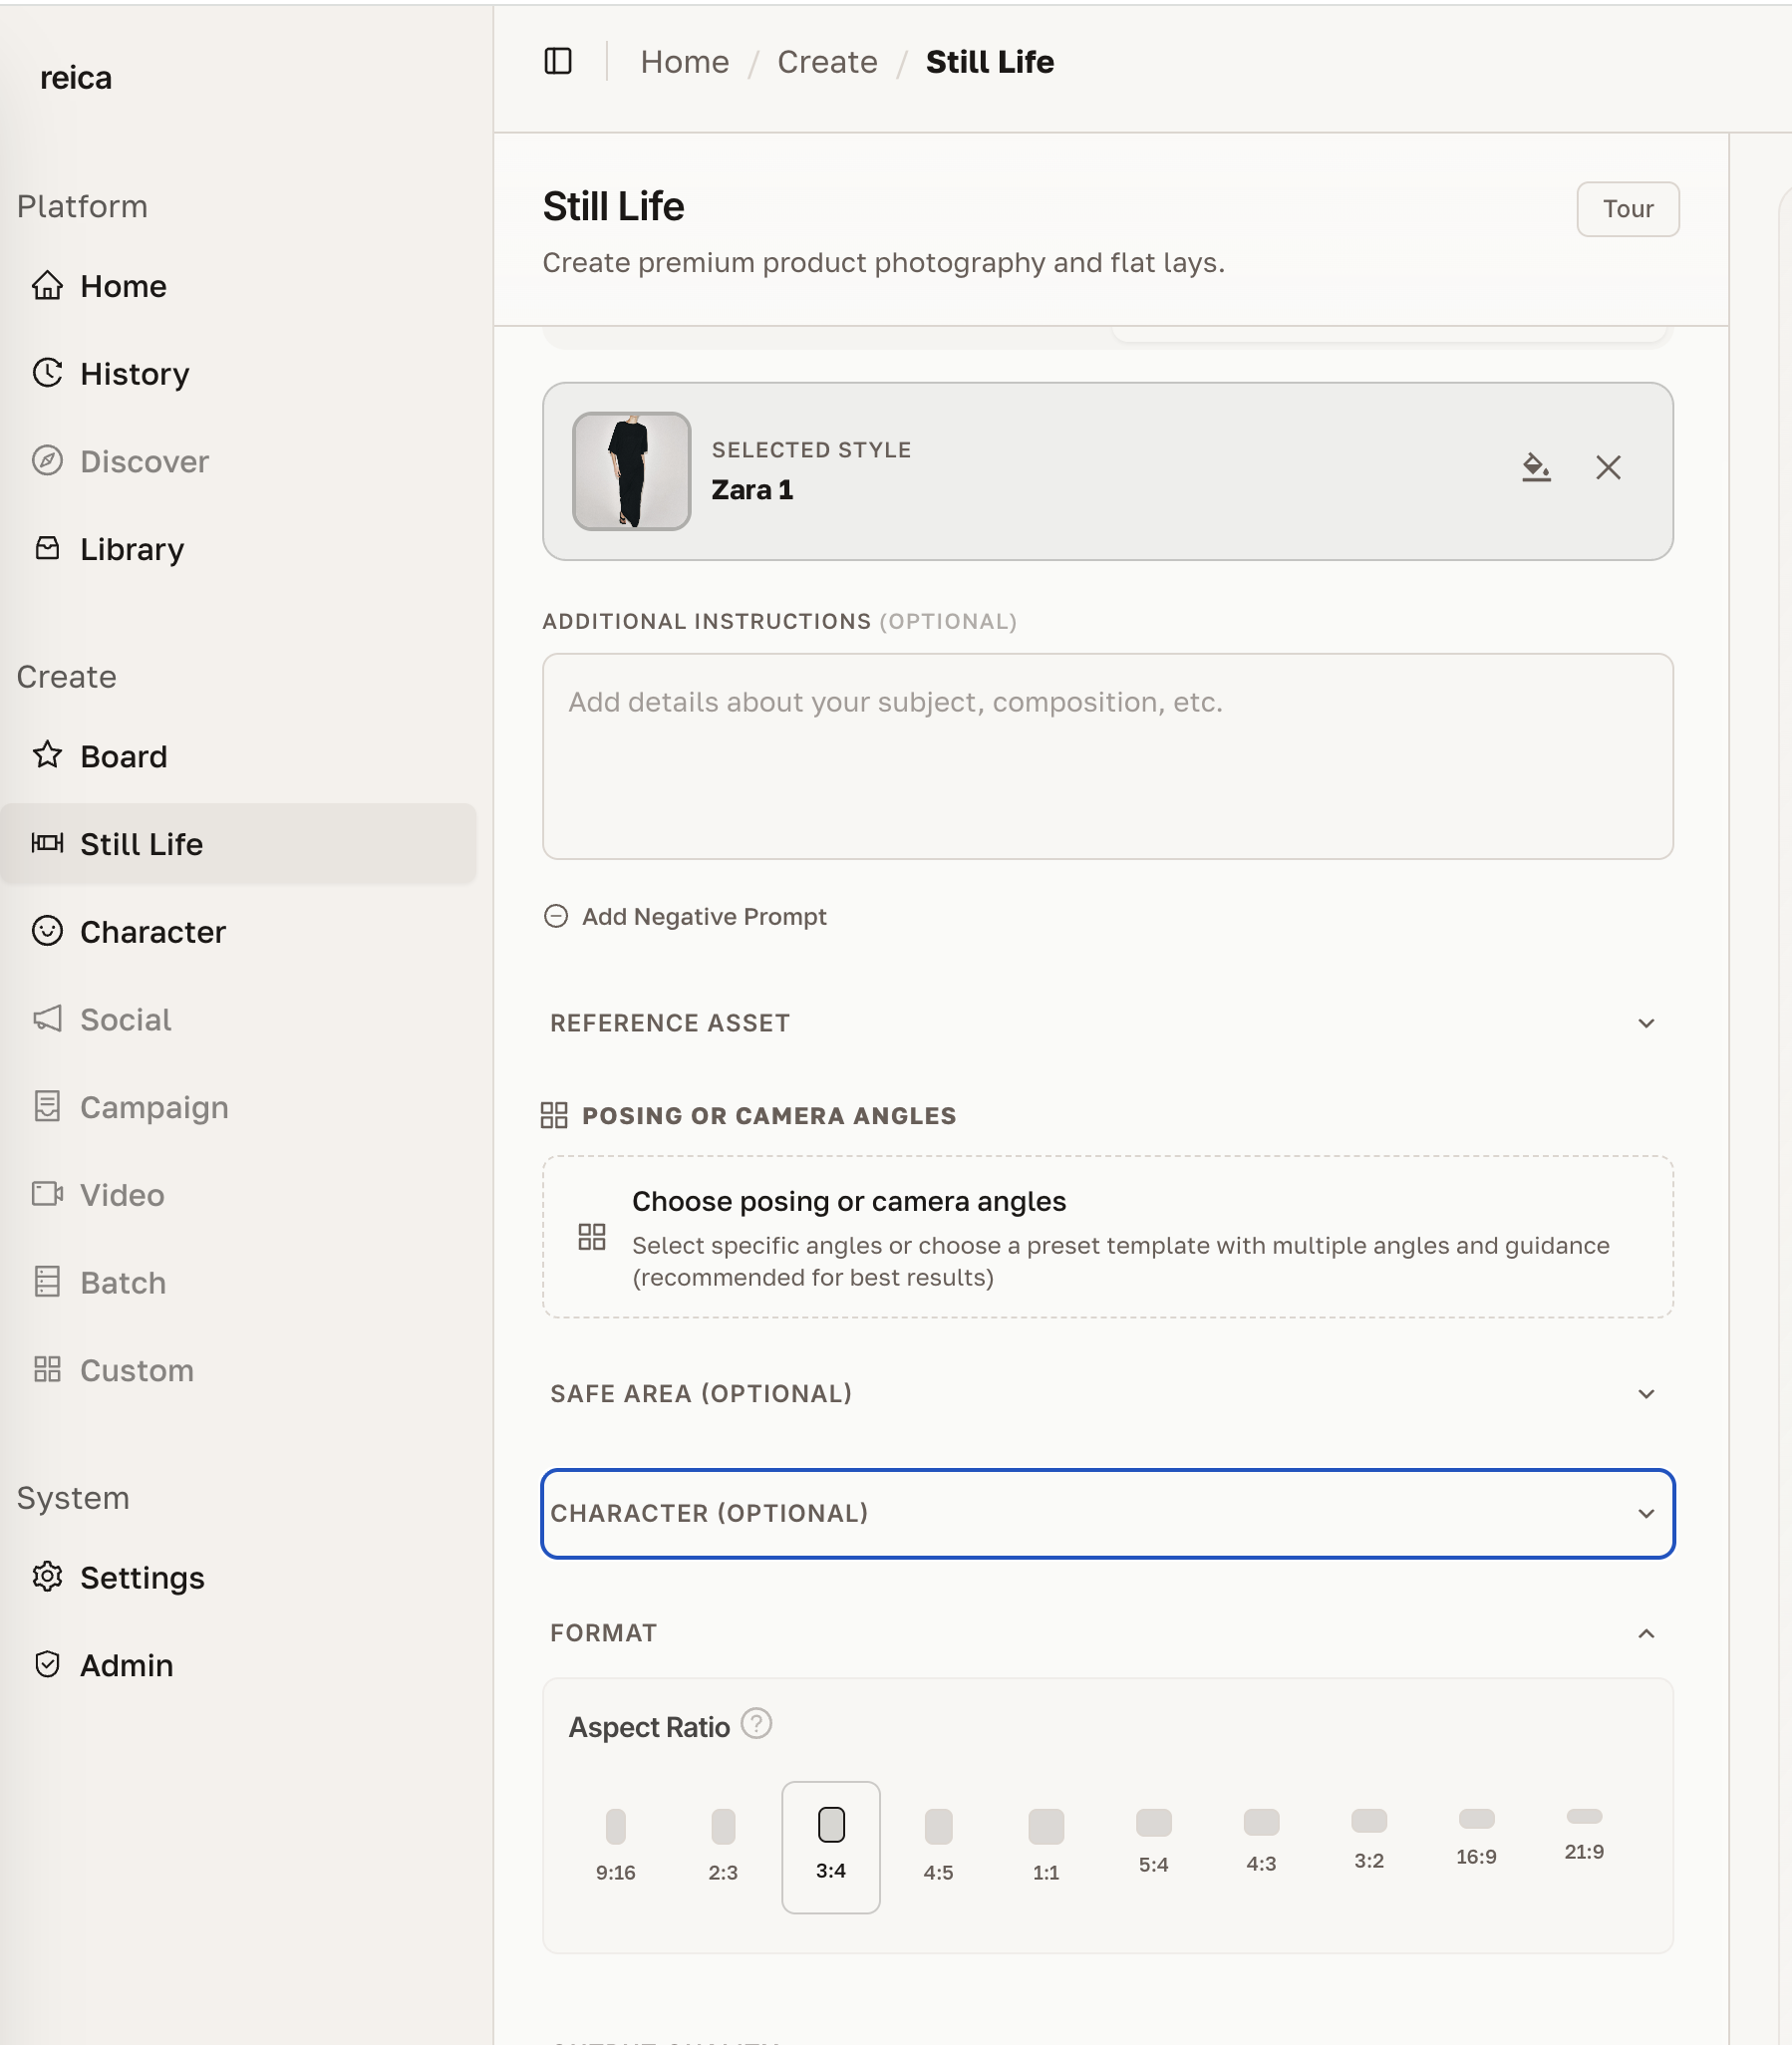
Step 6 — Set posing and camera angles (on-model)
For on-model outputs, you can direct:
Camera angles
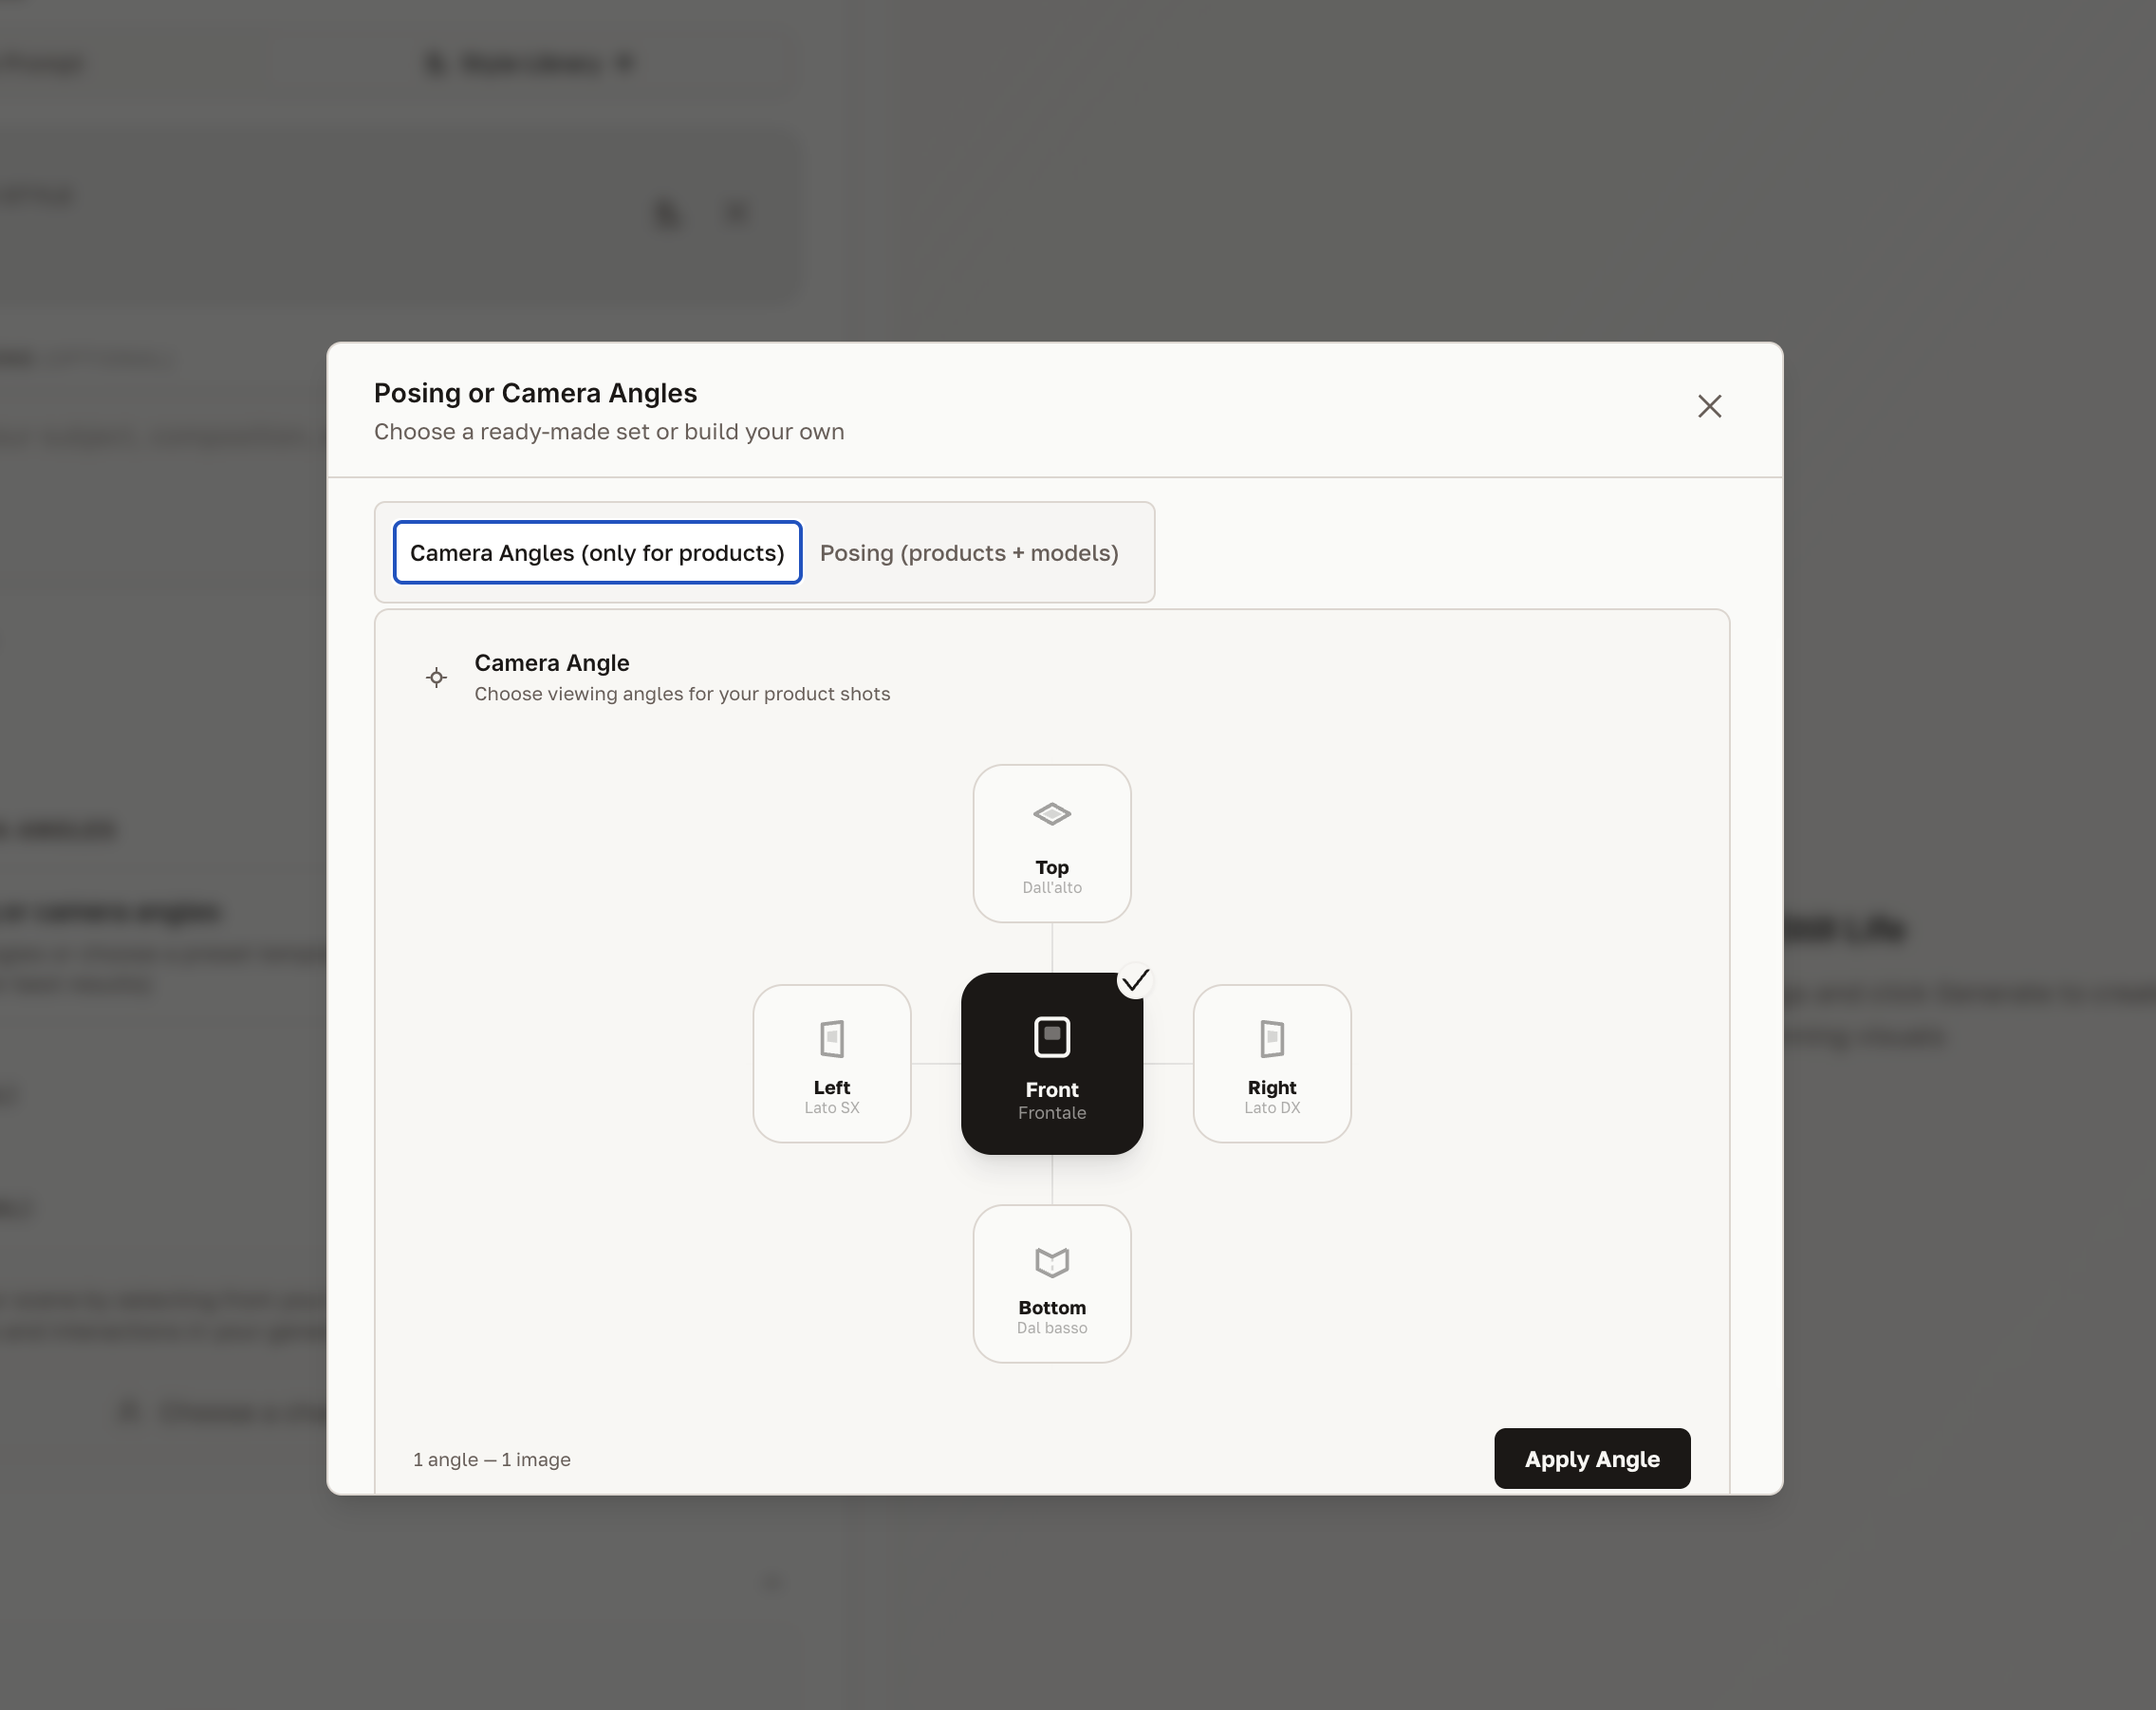
Options include frontal, three-quarter, side profile, back view, and editorial angles.
Body poses
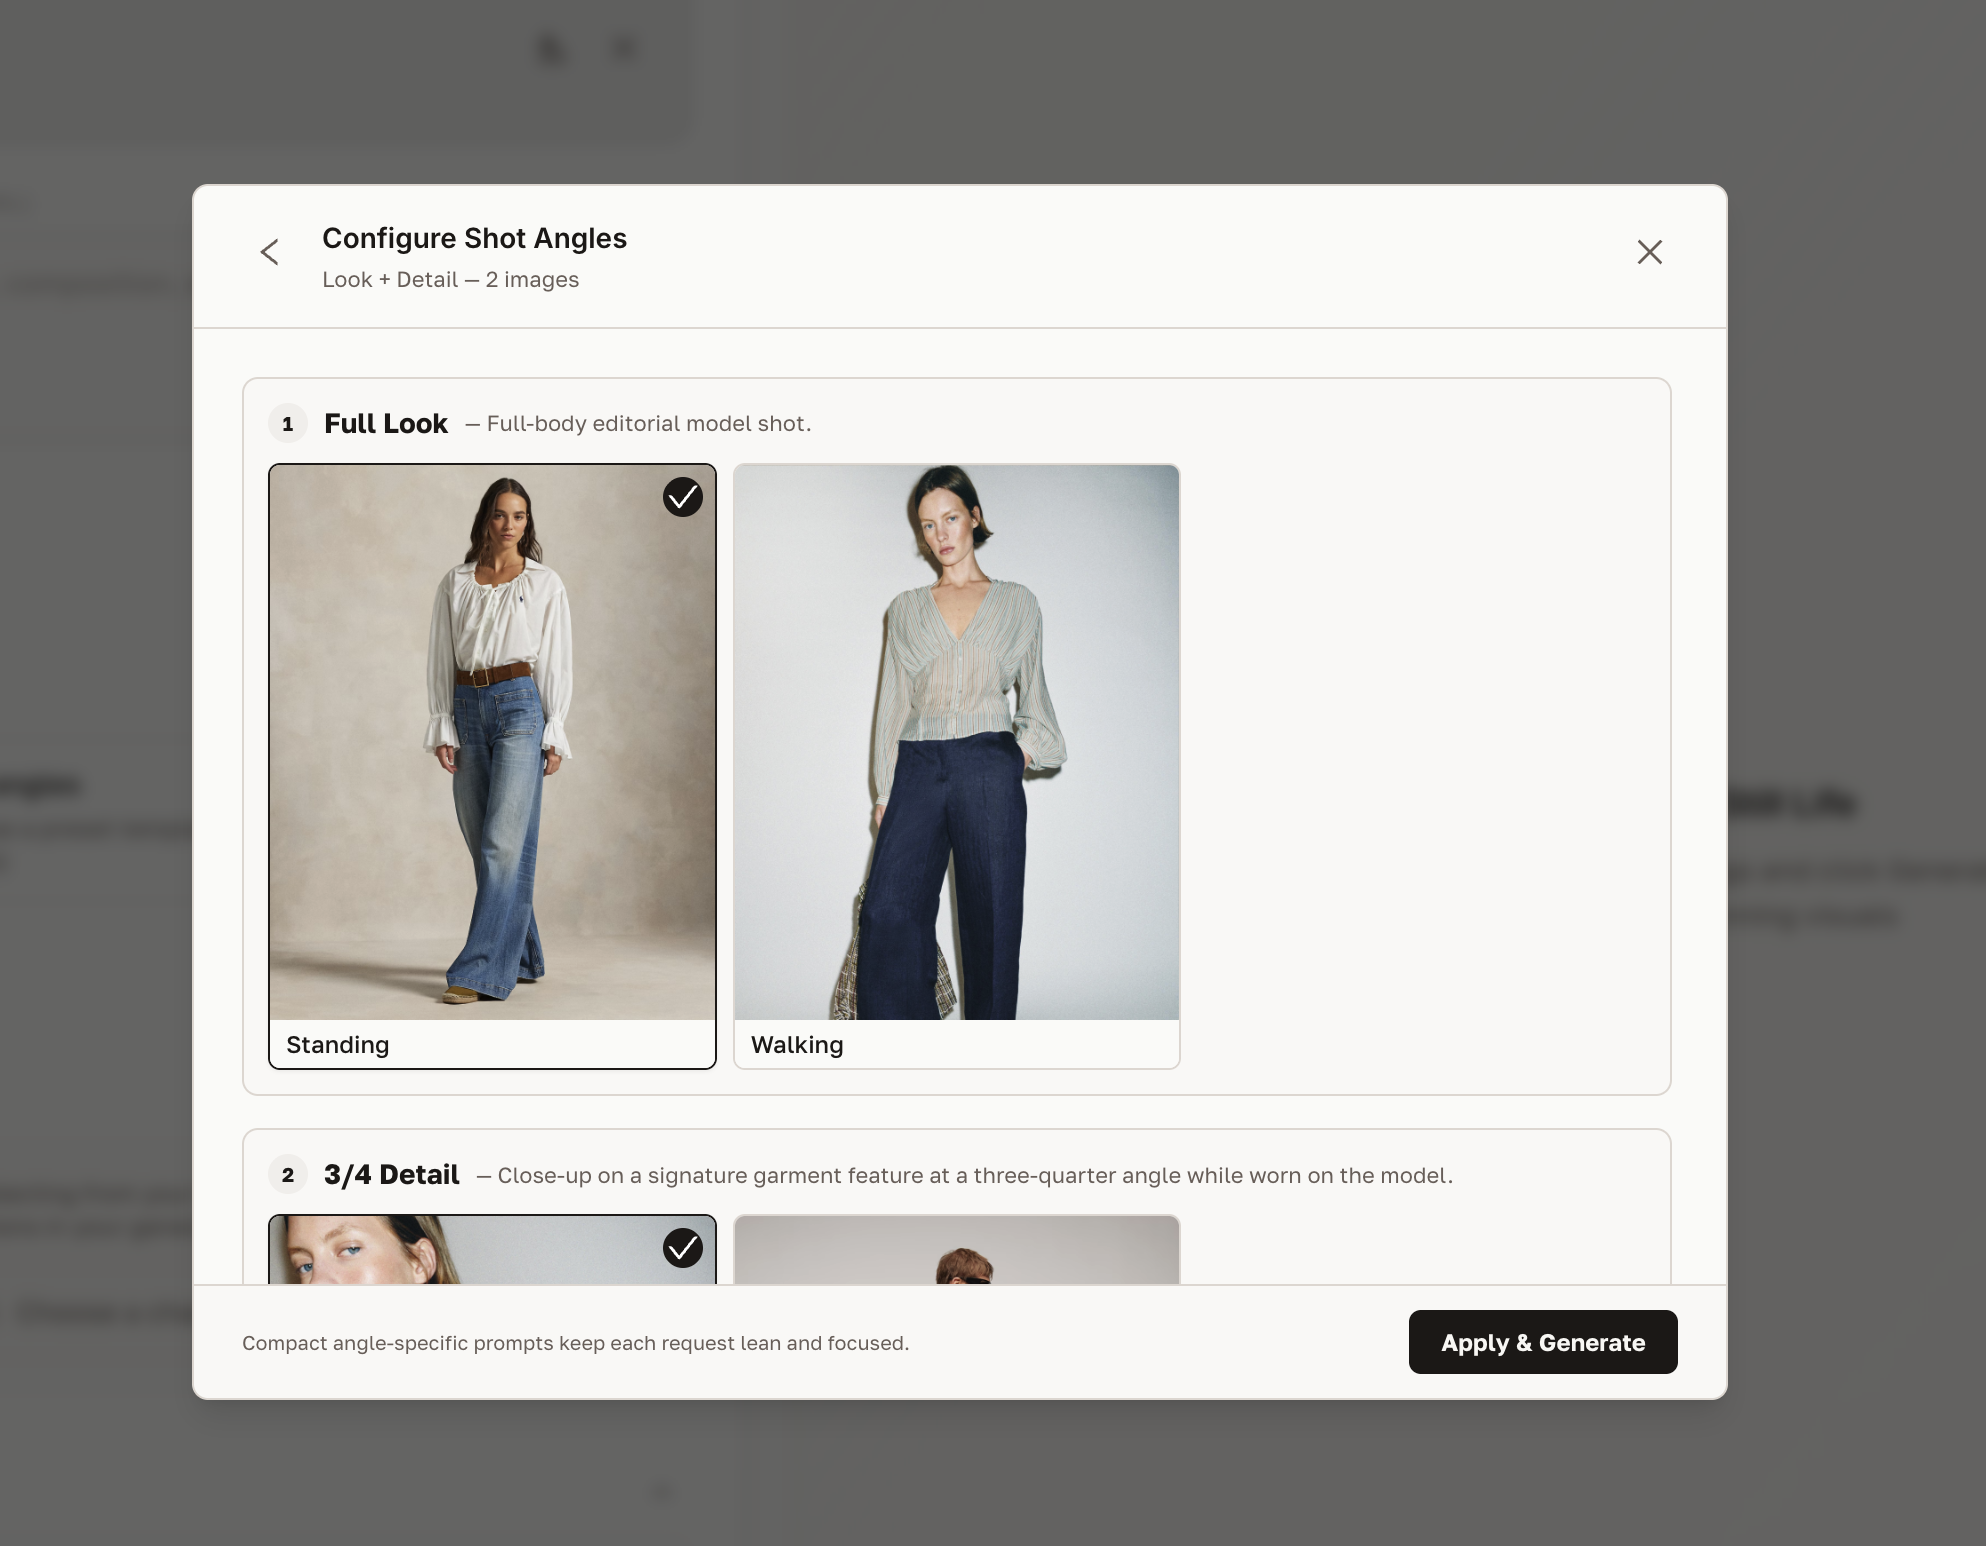
Choose from a library of poses: standing, walking, seated, dynamic, editorial, and more. Poses are calibrated for fashion and designed to make garments read clearly.
Step 7 — Set aspect ratio
Choose the output dimensions that match your target channel.
Common presets:
- 1:1 — Instagram square, product grid
- 4:5 — Instagram portrait, e-commerce PDP
- 9:16 — Stories, TikTok, mobile hero
- 3:4 — Lookbook, editorial print
- Custom — enter exact pixel dimensions
Safe Area (product positioning)
The Safe Area setting is useful when working with products that need a specific position within the canvas — for example, a handbag centred at the bottom of an editorial image.
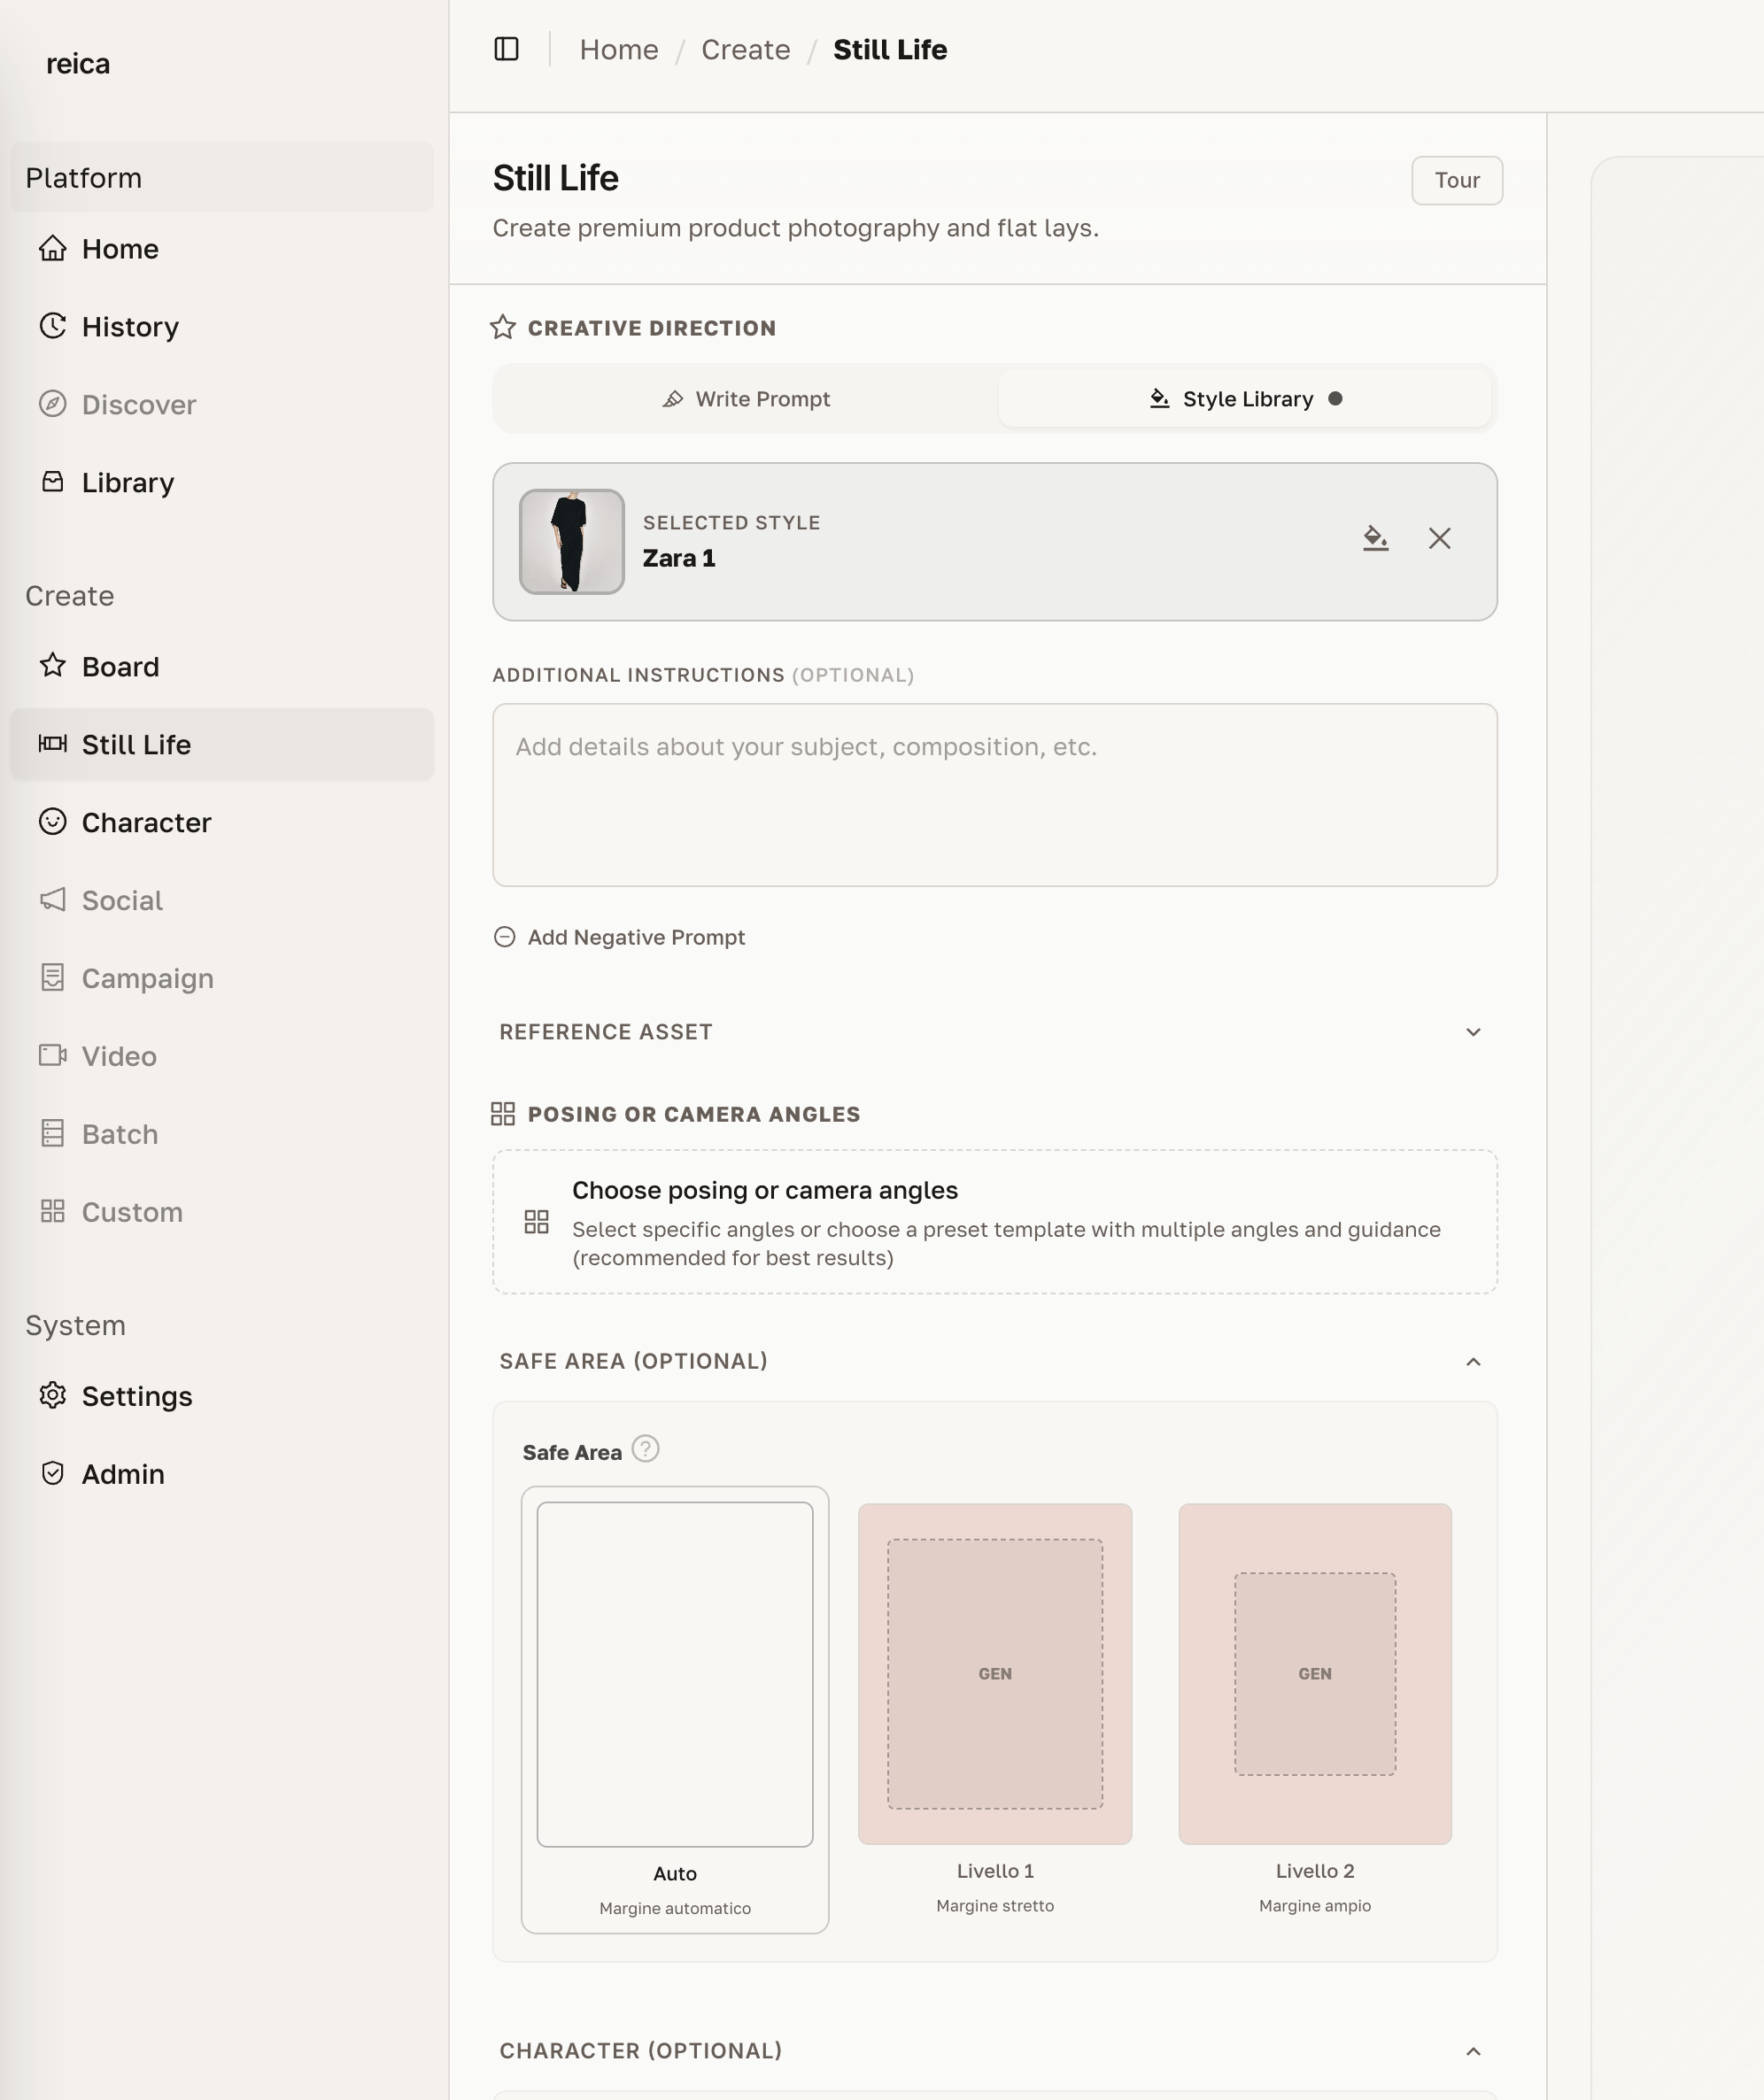
Drag the safe area bounds to define where the product must appear. The AI will compose the scene around that constraint.
Output resolution
Reica generates at up to 4K resolution — ready for print, out-of-home, and high-resolution digital.
Select your target resolution before generating. Higher resolutions take slightly longer but produce sharper results.
Tips for best Still Life results
- Front + back upload is the single highest-ROI change for apparel accuracy
- Match the aspect ratio to your channel before generating — cropping after loses quality
- Choose a style first then lighting — they work together
- Use Safe Area for products with strict brand positioning requirements
- Start with studio lighting if unsure — it's the most versatile for e-commerce
Related
- Character guide — create and manage on-model characters
- History guide — review and reproduce past settings
- Use Cases — see Still Life in real e-commerce workflows