Getting Started
Generate your first publication-ready image in under 2 minutes. No prompt engineering. No design skills required.
Choose your starting point
Reica has two main generation modes. Pick the one that matches your goal today:
| Mode | Best for | Start time |
|---|---|---|
| Still Life | Product photography, flat lay, ghost mannequin | < 1 min |
| Board | Campaign compositions, multi-image looks, editorial | < 2 min |
Quick Win: Product Shot in 60 Seconds
The fastest path from zero to a finished image.
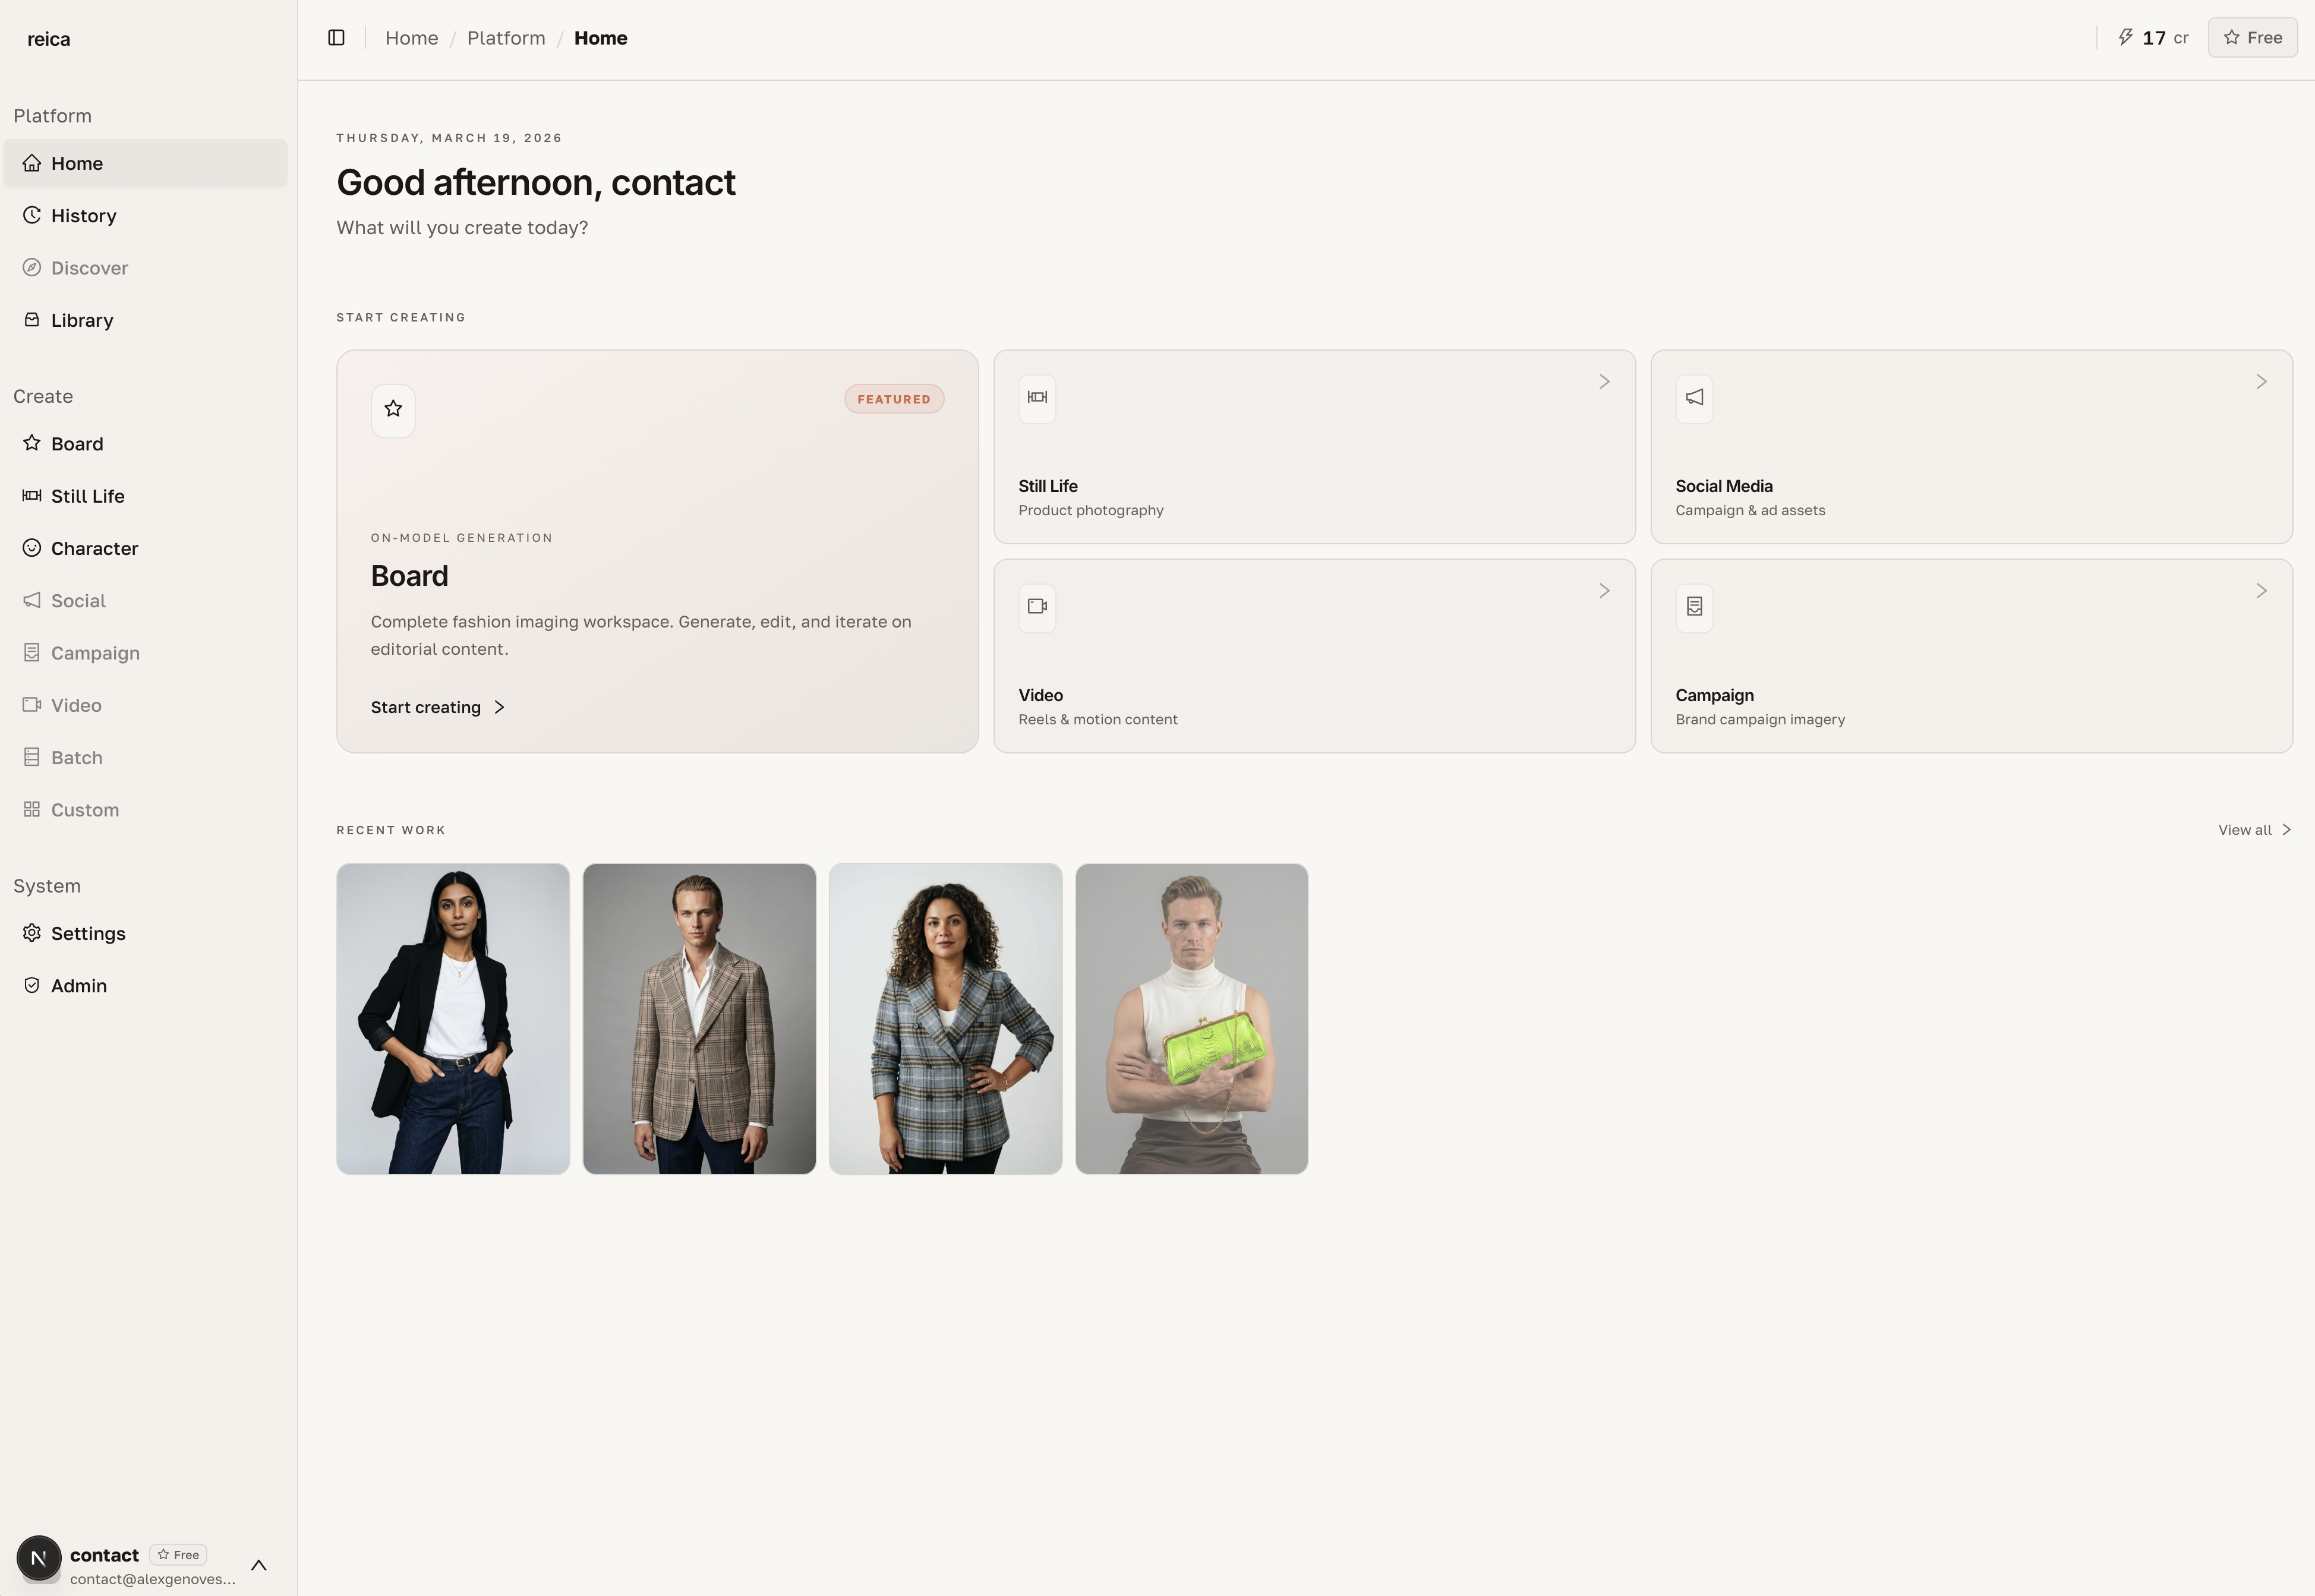
Step 1 — Open Still Life
From the Home dashboard, click Still Life in the shortcuts bar.
Step 2 — Upload your product
Click the upload area and add your product image (JPEG or PNG, any size).
- Front view works for most products
- For apparel: upload both front and back to improve generation quality
Step 3 — Configure the shot
Set these three options (all have smart defaults — you can skip them on your first try):
- Output type — choose Ghost, Flat Lay, On-model, or Still Life
- Background — pick a color or leave transparent
- Lighting — studio, natural, dramatic, or soft
Step 4 — Generate
Click Generate. Your image is ready in seconds.
Step 5 — Download or reuse
- Click the image to open it full-size
- Download in up to 4K resolution
- Click Use for new generation to build on the result
Quick Win: Campaign Board in 2 Minutes
Step 1 — Create a new Board
From Home, click New Board. Give it a name.
Step 2 — Add a reference image
Drag any reference image onto the canvas — a model photo, a garment flat, a mood image.
Step 3 — Select and generate
Click the node to select it. Choose a photographic style, then hit Generate.
Step 4 — Link and expand
Use the + button on any node to link it to new generations and build a full campaign from a single reference.
What's next?
- How It Works — understand the AI logic in plain language
- Still Life feature guide — master every setting
- Board feature guide — build campaign-scale compositions